Drift
Drift as I see it is the balance between order and chaos, and how the two can work together to create beautiful pieces of art.
In Spring 2020, I took 4.021 which is MIT’s introduction design studio, and for our first assignment “Drift”, students were tasked with creating a piece of art that could be replicable using a series of instructions. The goal was to create a rule set that could create a piece of art that had some sense of variability (“Drift”), but at the same time had some sense of commonality or order hence the instructions.
Project Members
Nebyu Haile
Programs + Tools used
Various Writing Instruments
Paper
Laser Cutter
Conception
I decided to create an art piece centered around using a drawing devices. I liked the idea of a drawing tool because I felt using a tool provided some sense of rigidity to the drawing, but different configurations of the tool could add the “Drift”. I took inspiration from drawing devices on the internet, and in particular rotary based ones such as spirographs, ear tools , and compasses.
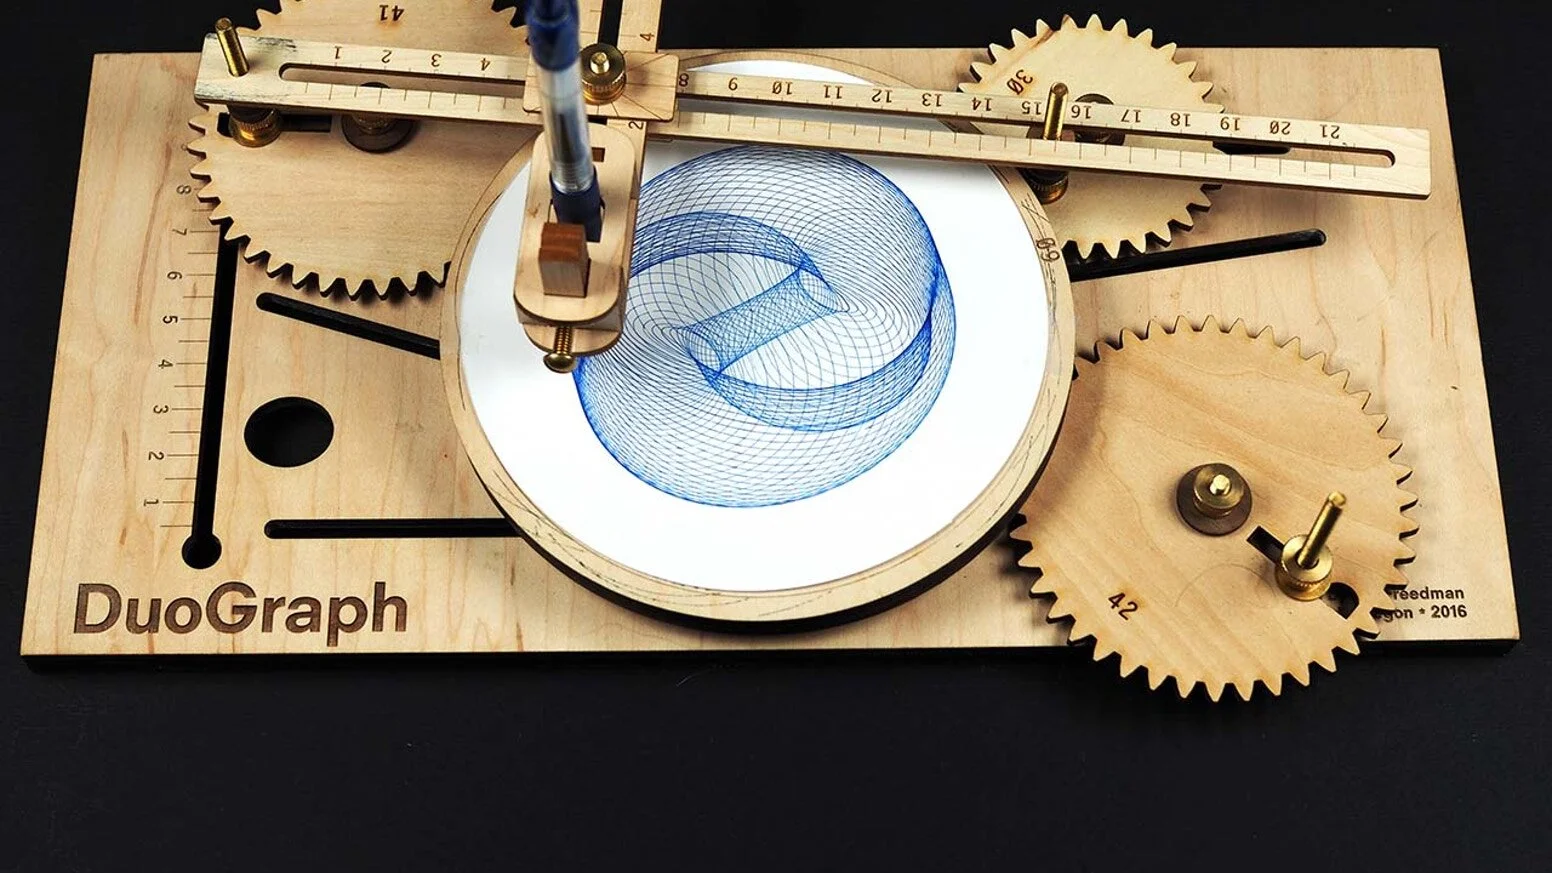
Drawing Machine by Joe Freedman
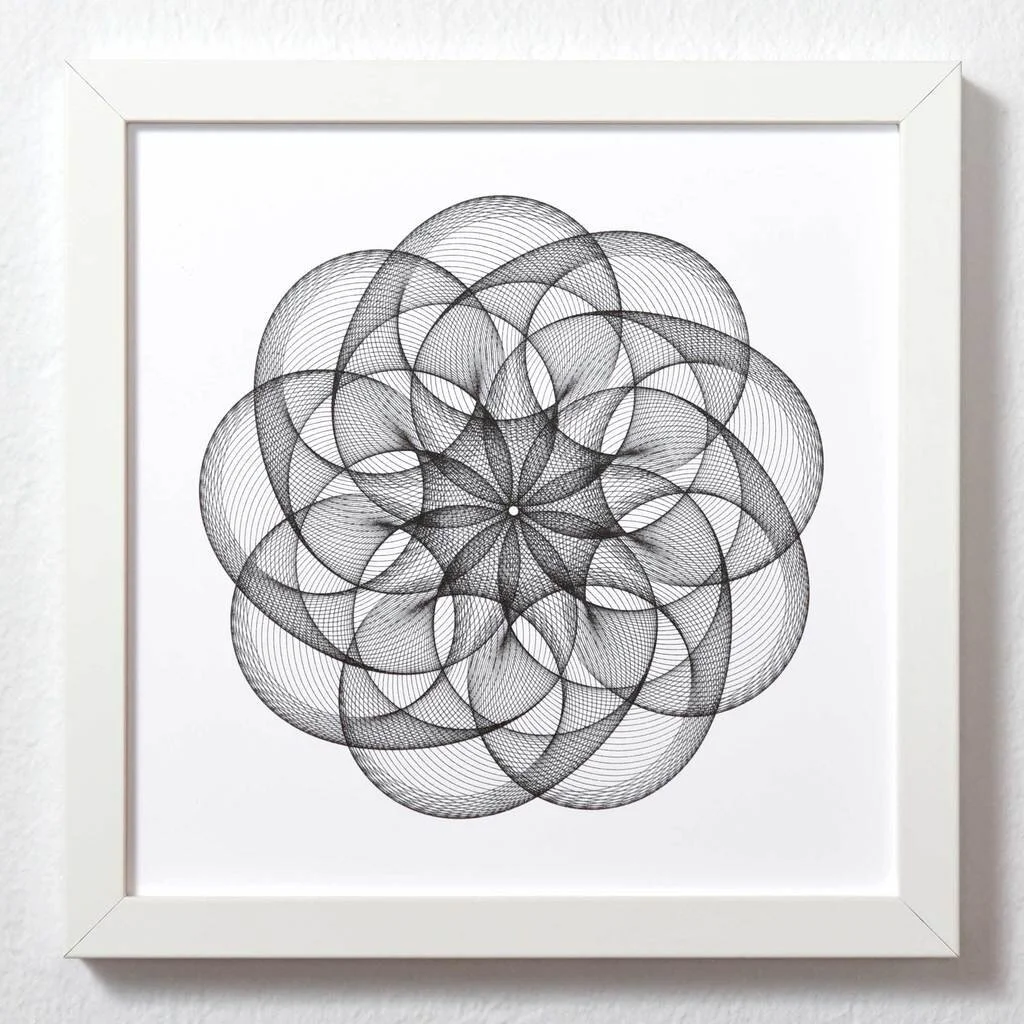
Pincushion Spirograph Art Print
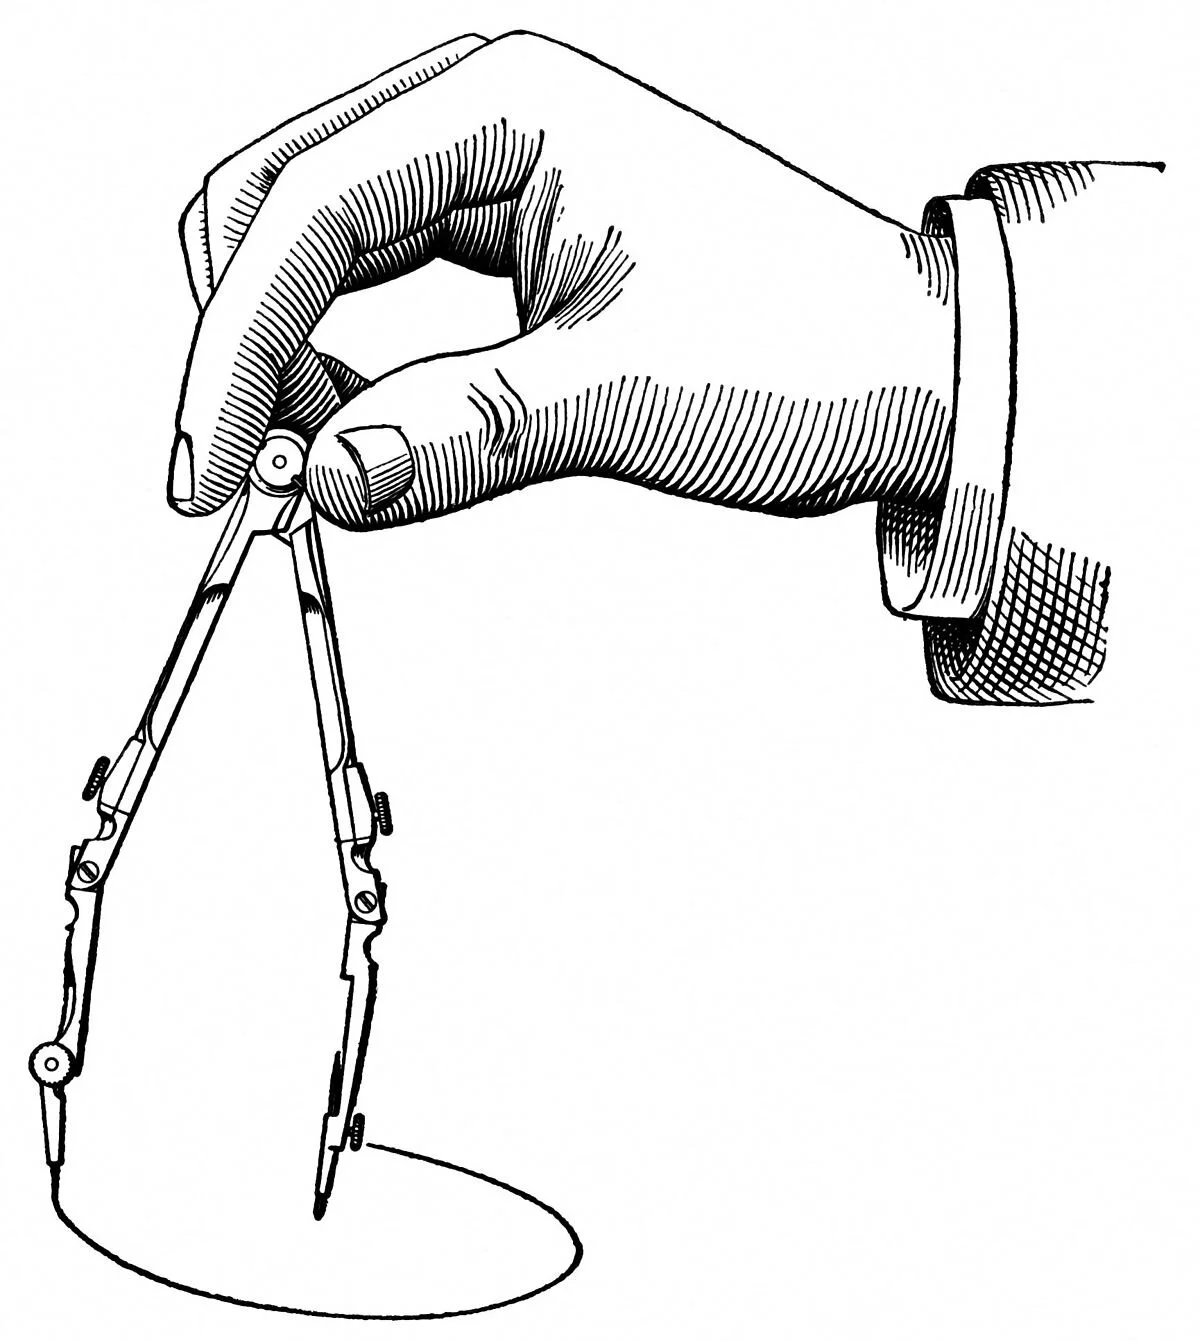
A Textbook on Ornamental Design
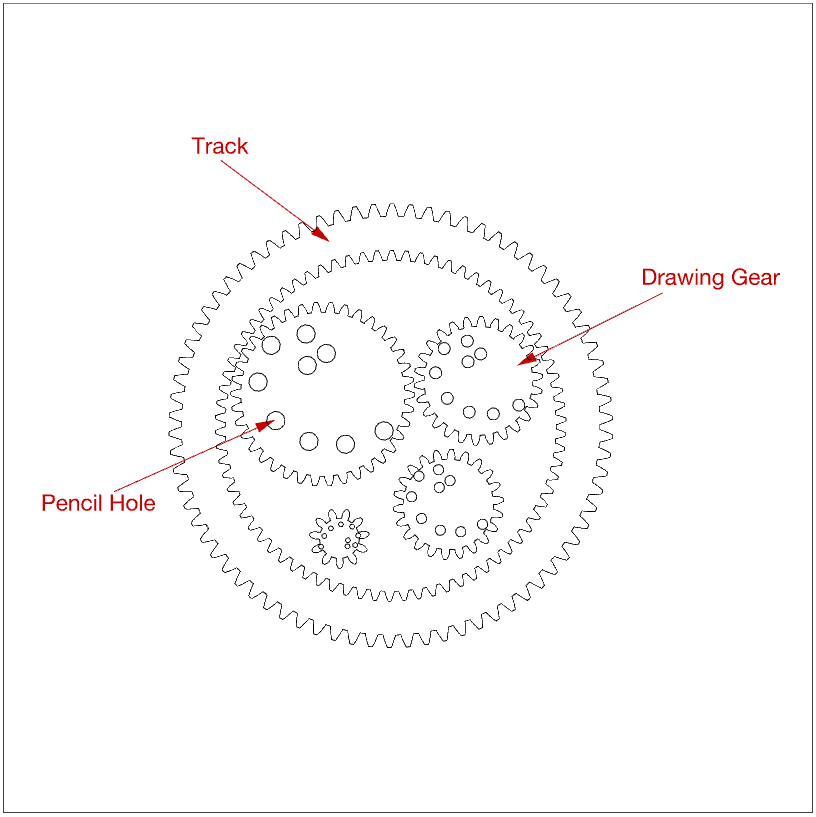
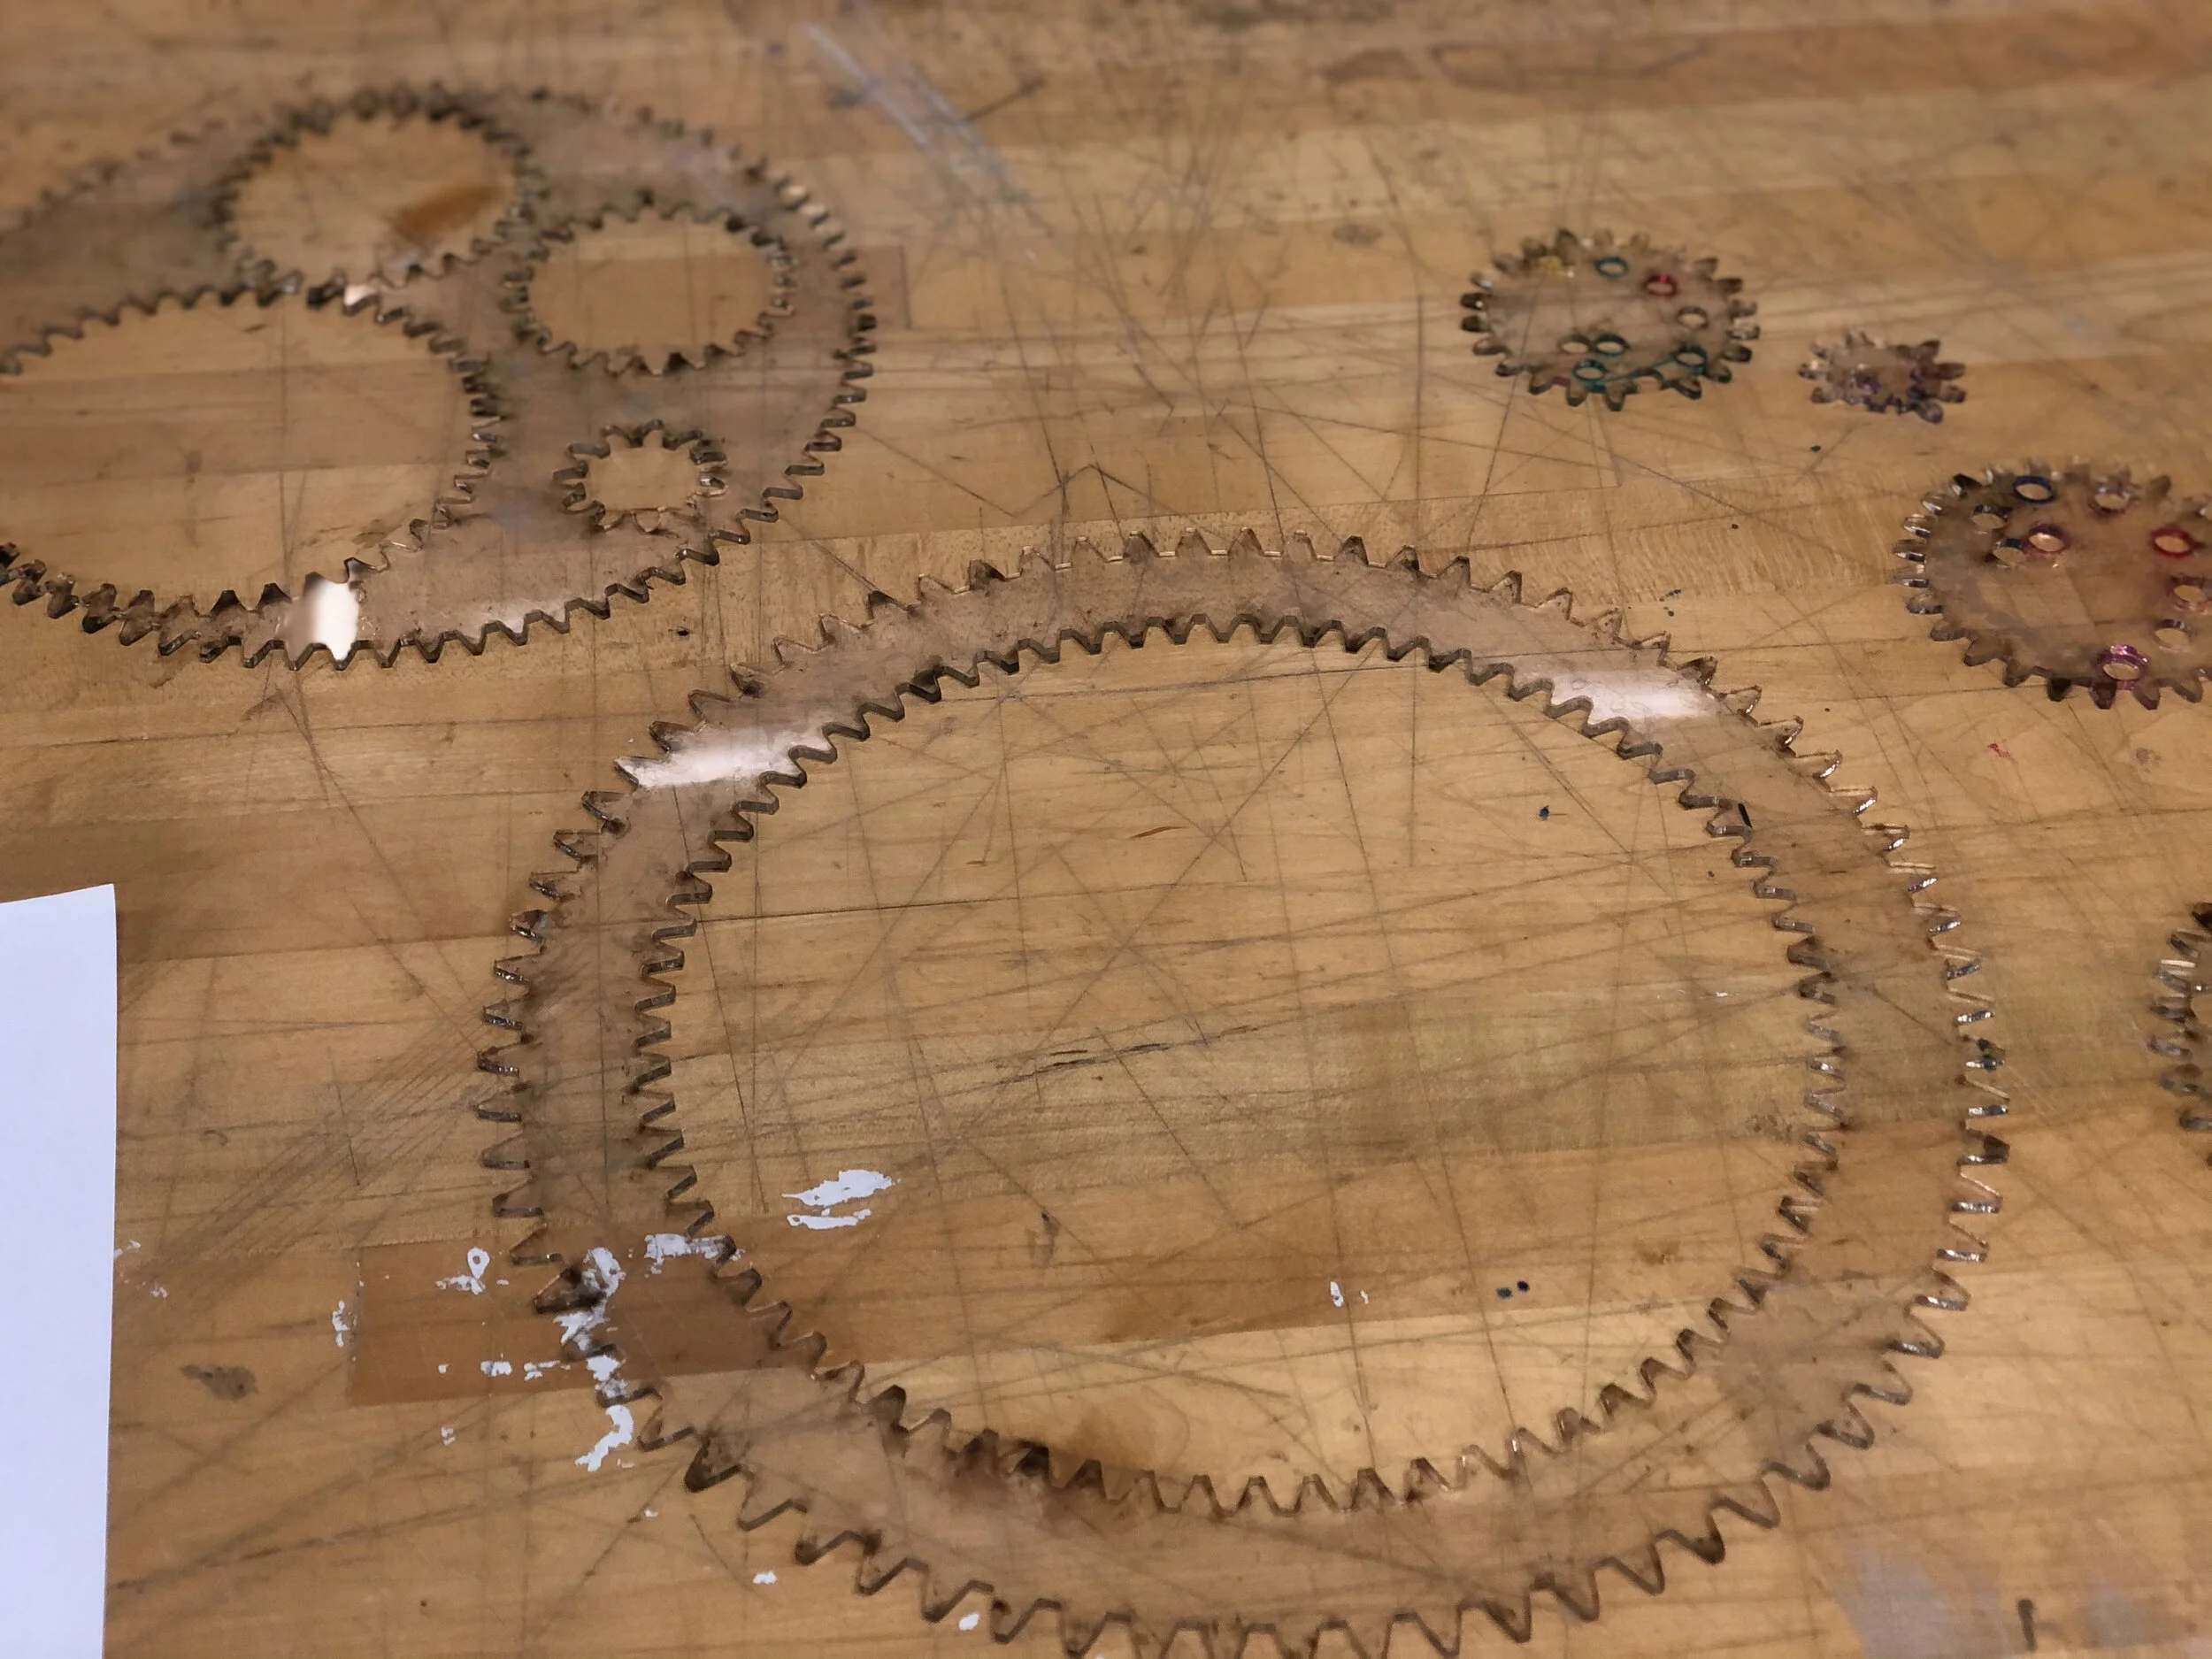
Making The Spirograph
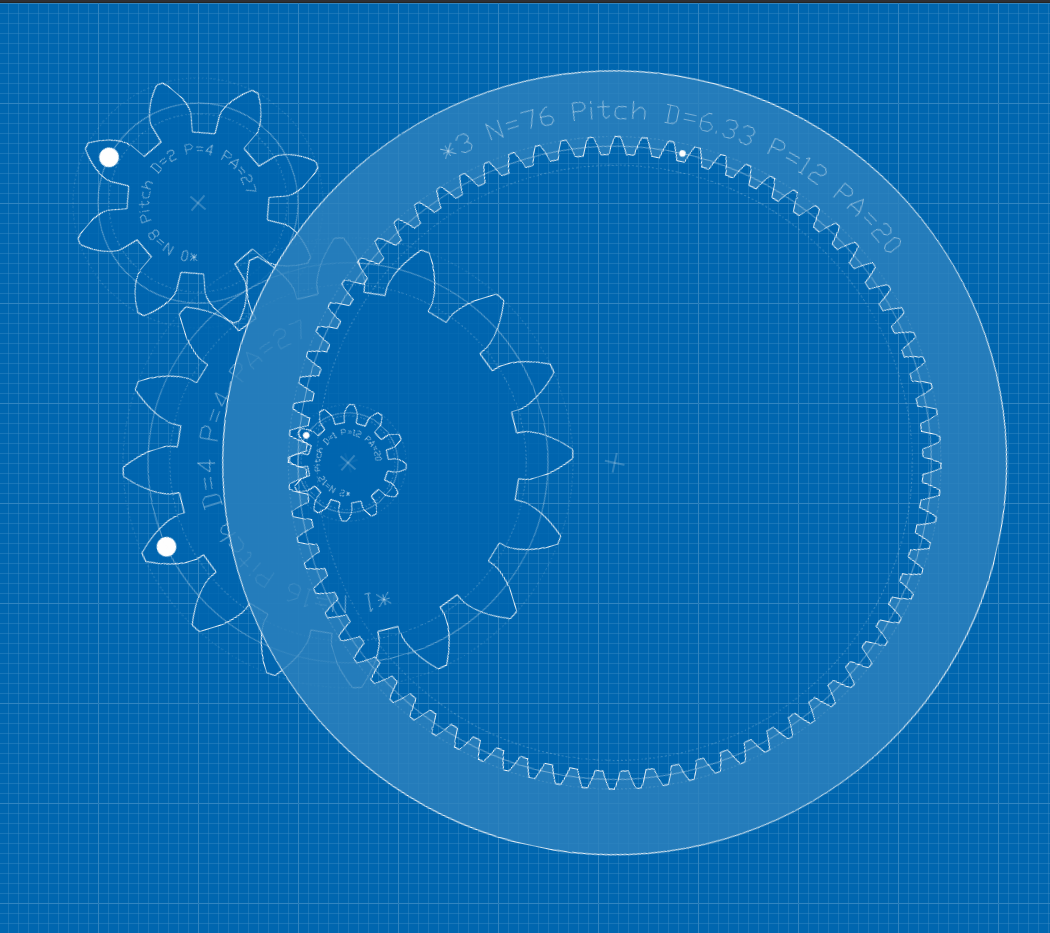
Ultimately I was most inspired by spirograph art, and decided to laser cut a spirograph tool. I used an online gear generator tool to make sure that my gears would spin in the spirograph track.
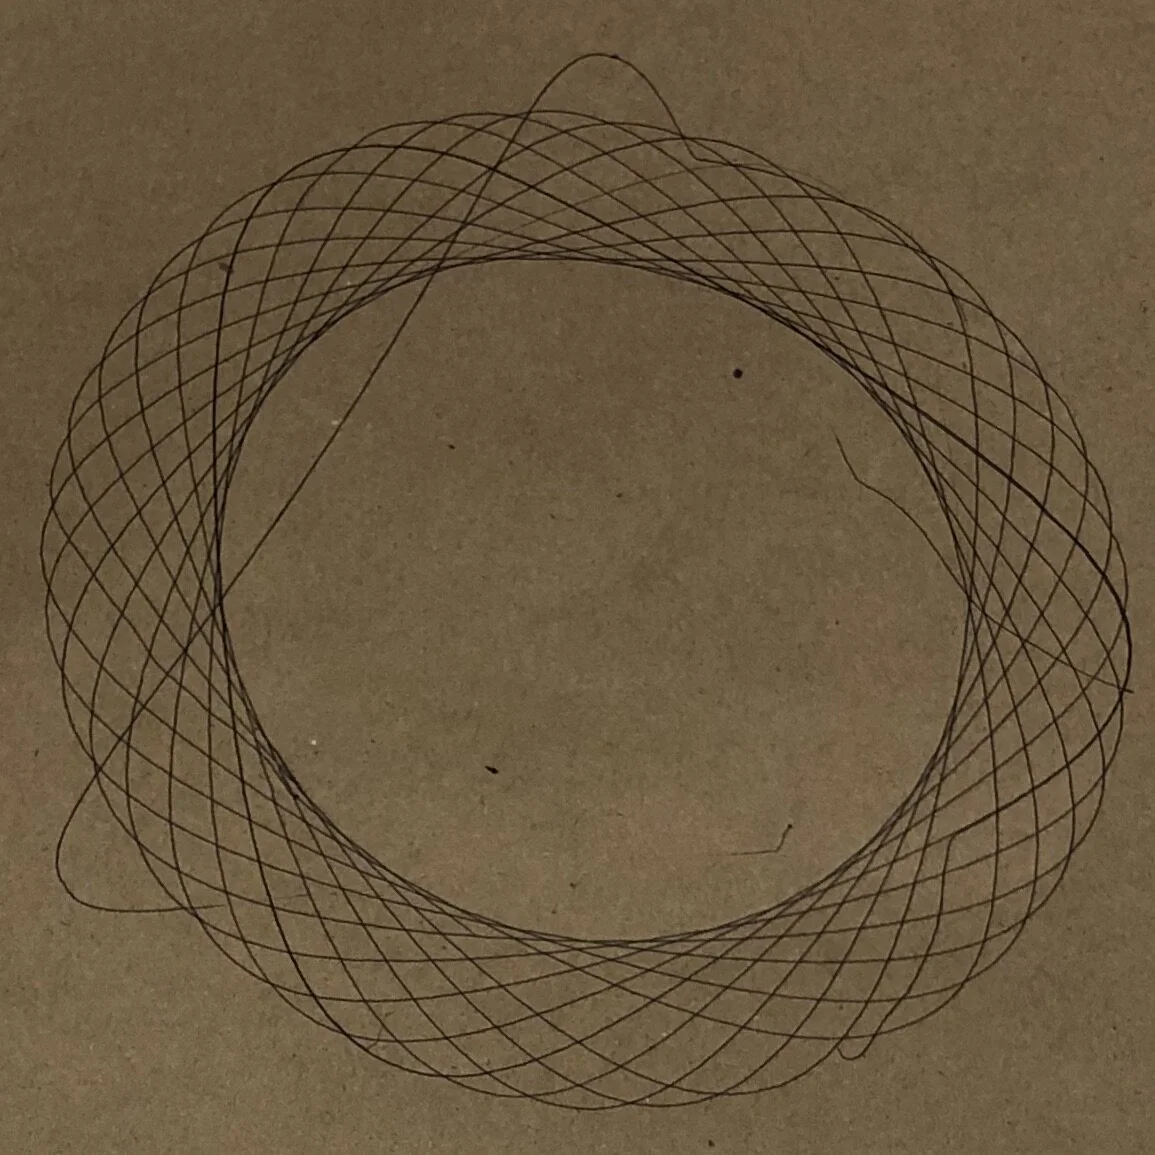
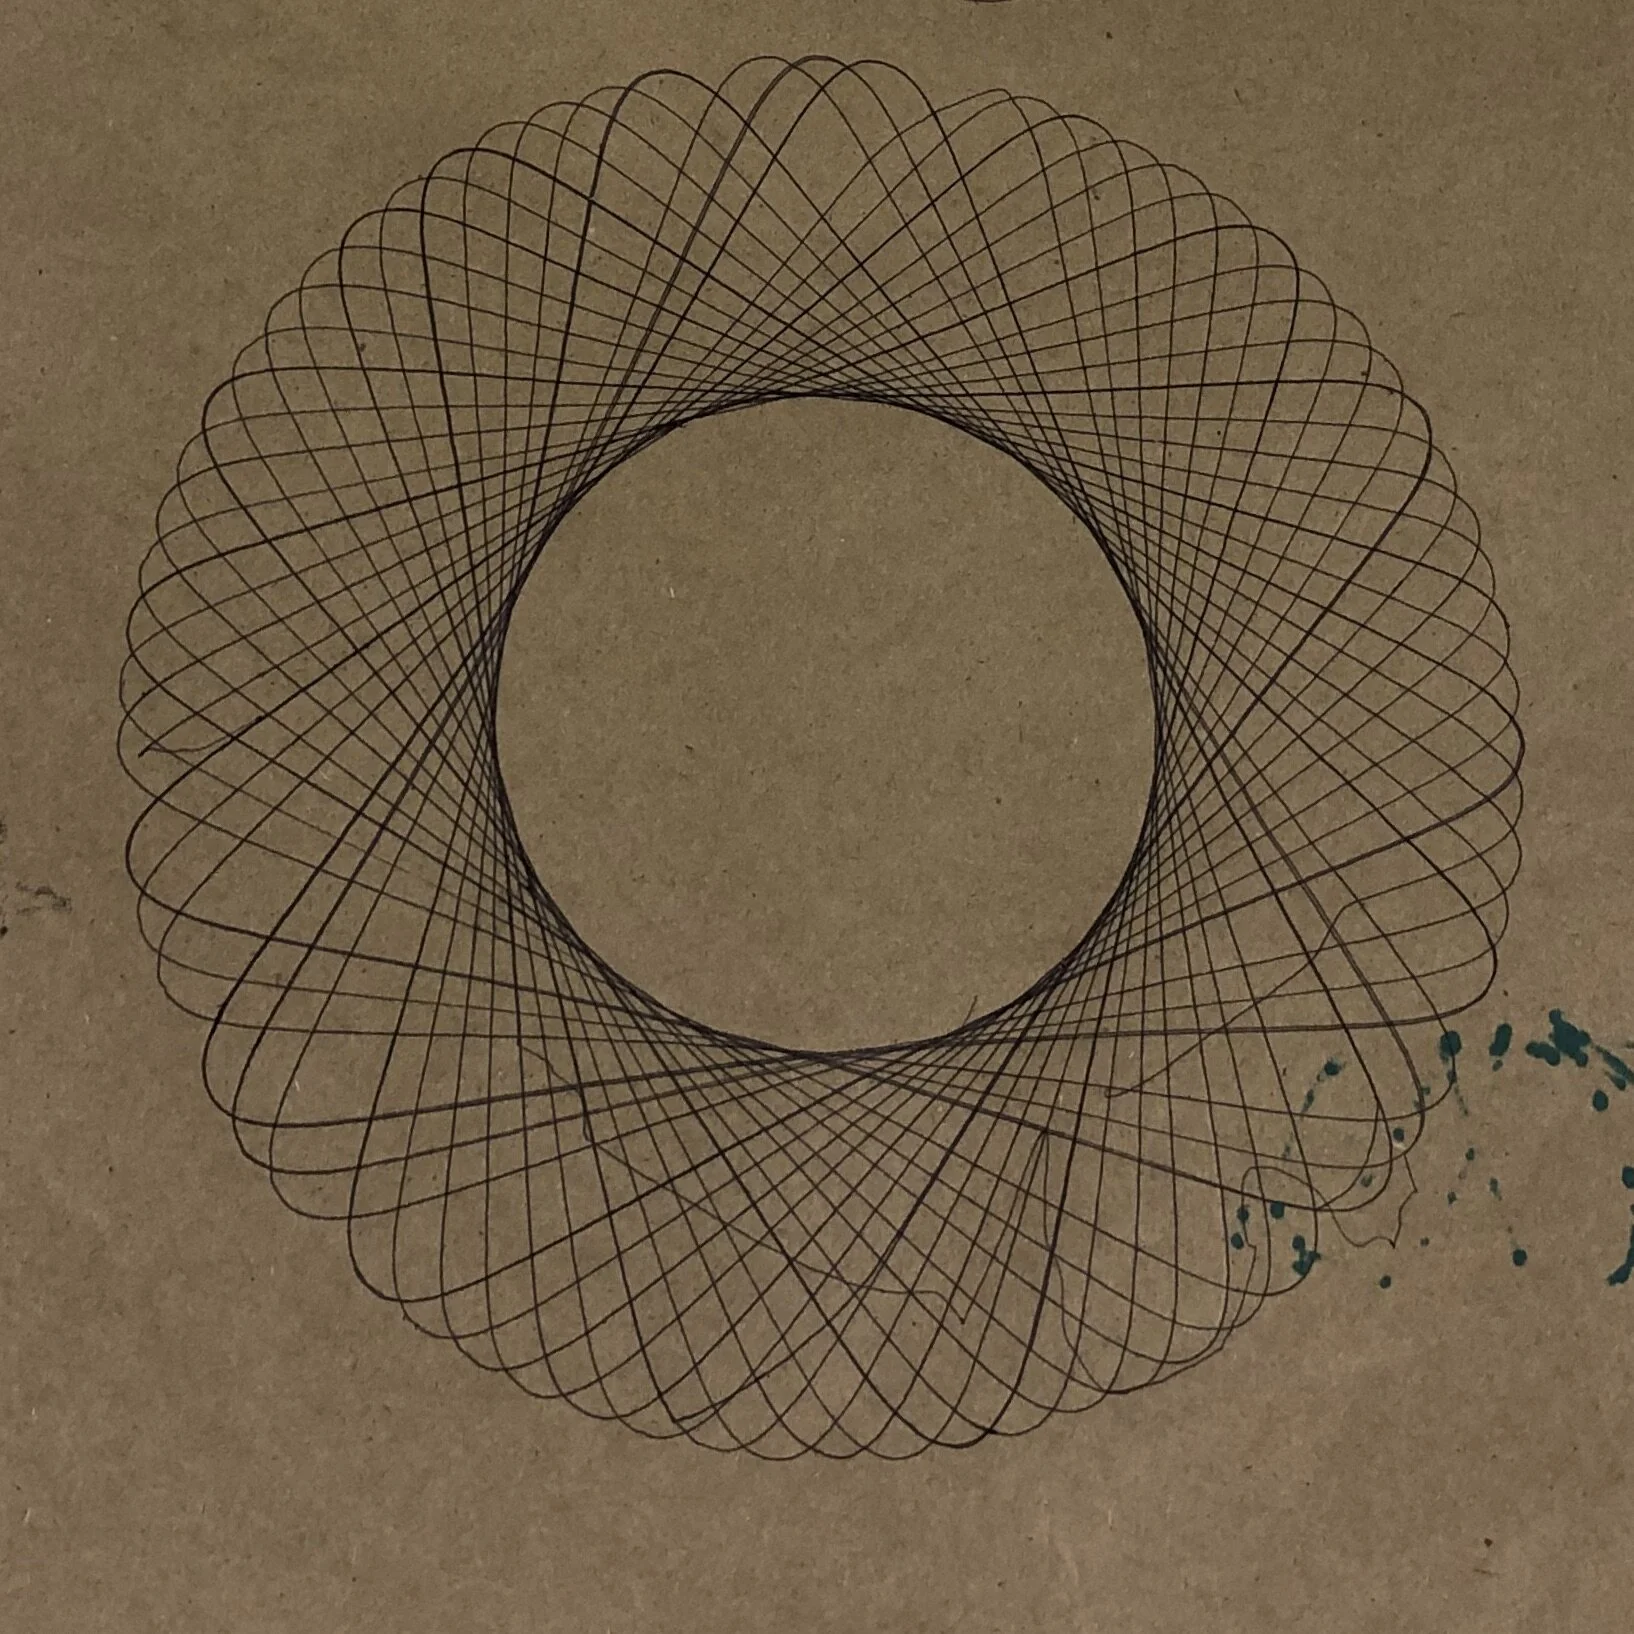
Experimenting
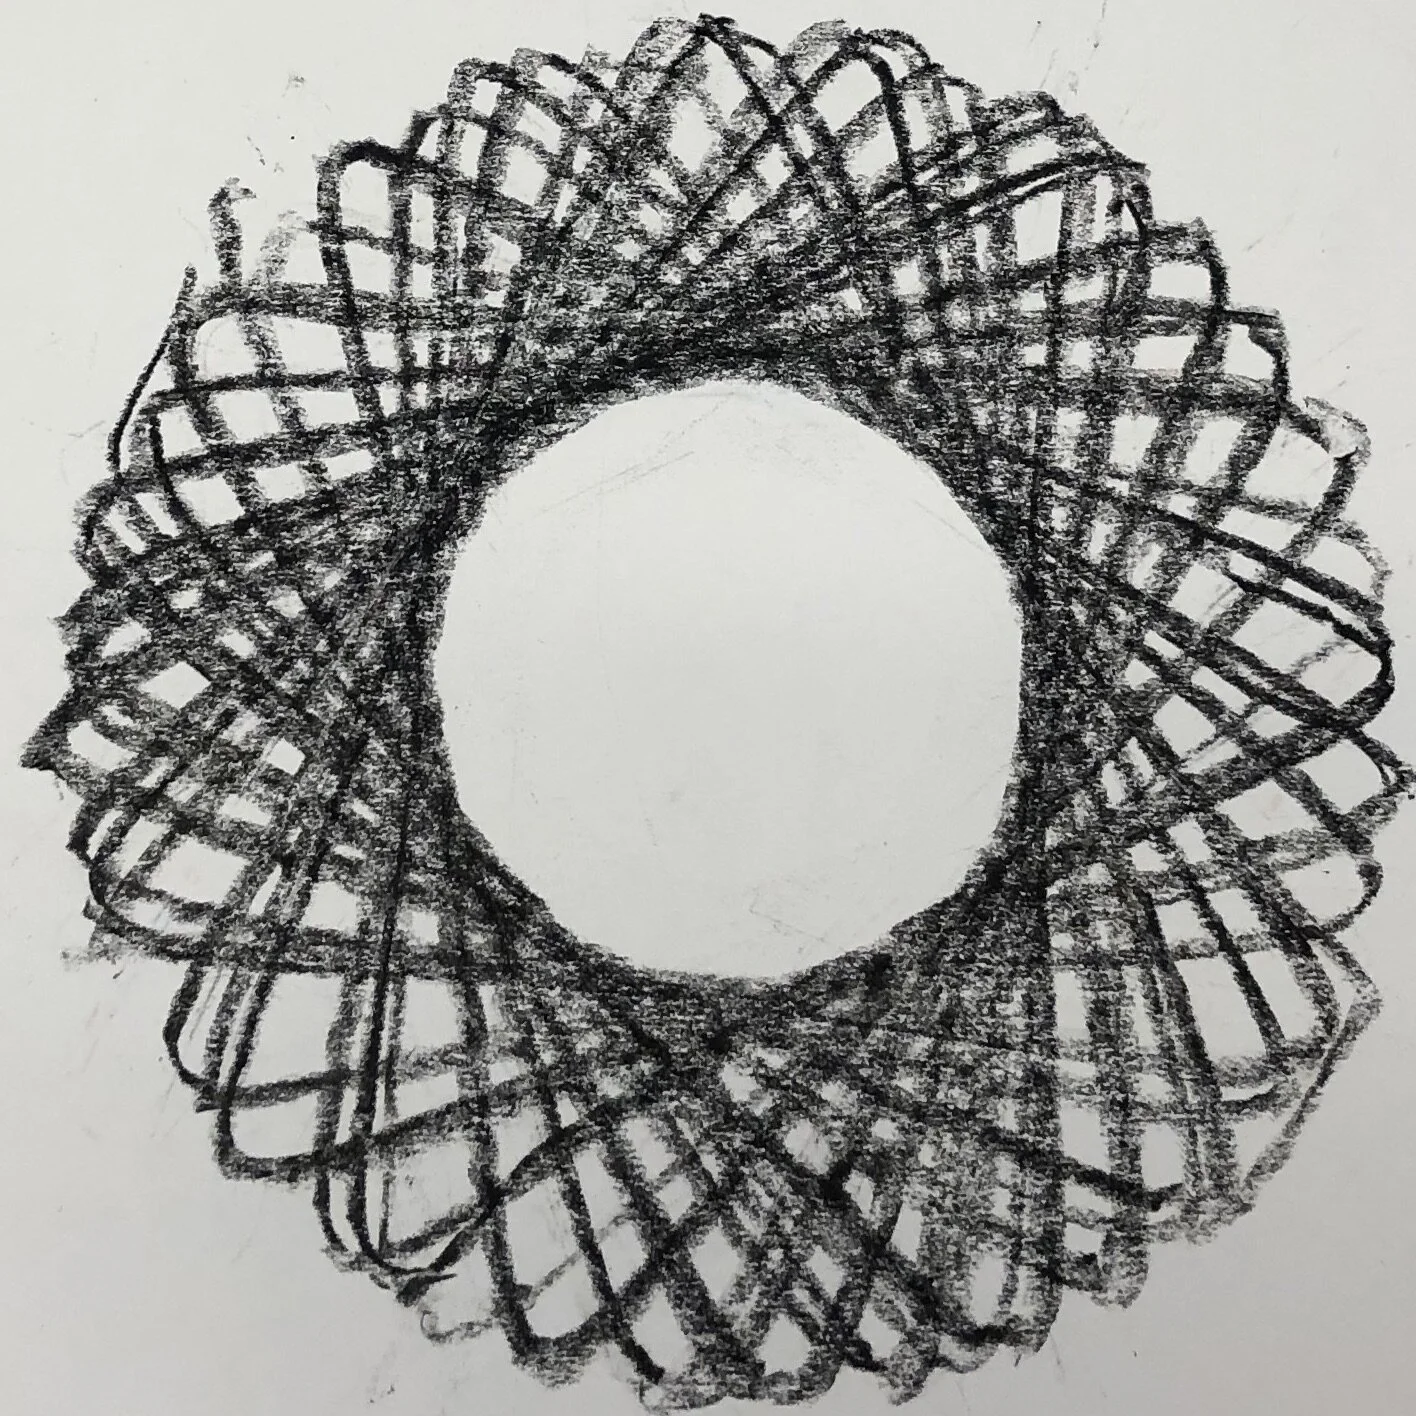
After the tool was done, I spent time learning the different patterns that could be made using various pencil hole positions and drawing gear sizes.
Making The Rules
With the tool done, I shifted to creating a rule set that would allow me to create an abstract art piece that is 26” by 26”. The rules main goal was to encourage drift
Rule 1: Tear a sheet of tracing paper the size of the desk.
Rule 2: Tape the tracing paper to the desk
Rule 3: Place the 26” by 26” white paper on desk center.
Rule 4: Tape all around the edges of the white paper(half the tape on white edge & half on the tracing paper.
Rule 5: Take note of the different gears, gear tracks, and drawing utensils on the desk.
Rule 6: On the smaller white rectangular paper practice making patterns.
Rule 7: To make a pattern, first pick a track and using 2-3 pieces of tape, tape it onto the practice white paper.
Rule 8: Then pick a gear and a drawing utensil who's tip fits through the holes on the gear.
Rule 9: With the tip in one of the gear’s holes, spin the gear around the track, you should see a pattern start to appear.
Rule 10: Stop spinning the gear when you are happy with the pattern. Remove the track and repeat with other gear and track sizes.
Rule 11: Once you have experimented with the different writing utensils, tracks, gears (and placement of writing utensil in gear) for ten minutes move onto the 26” by 26” paper.
Rule 11: The goal is to fill the 26” x 26” paper using a variety of line weights, patterns, and colors (later omitted).
Rule 12: Don’t be afraid to use the tracks and gears in weird ways – hint ... you can make partial patterns by offsetting the tracks off the white paper ... or ... you can intersect multiple patterns.
Iterations
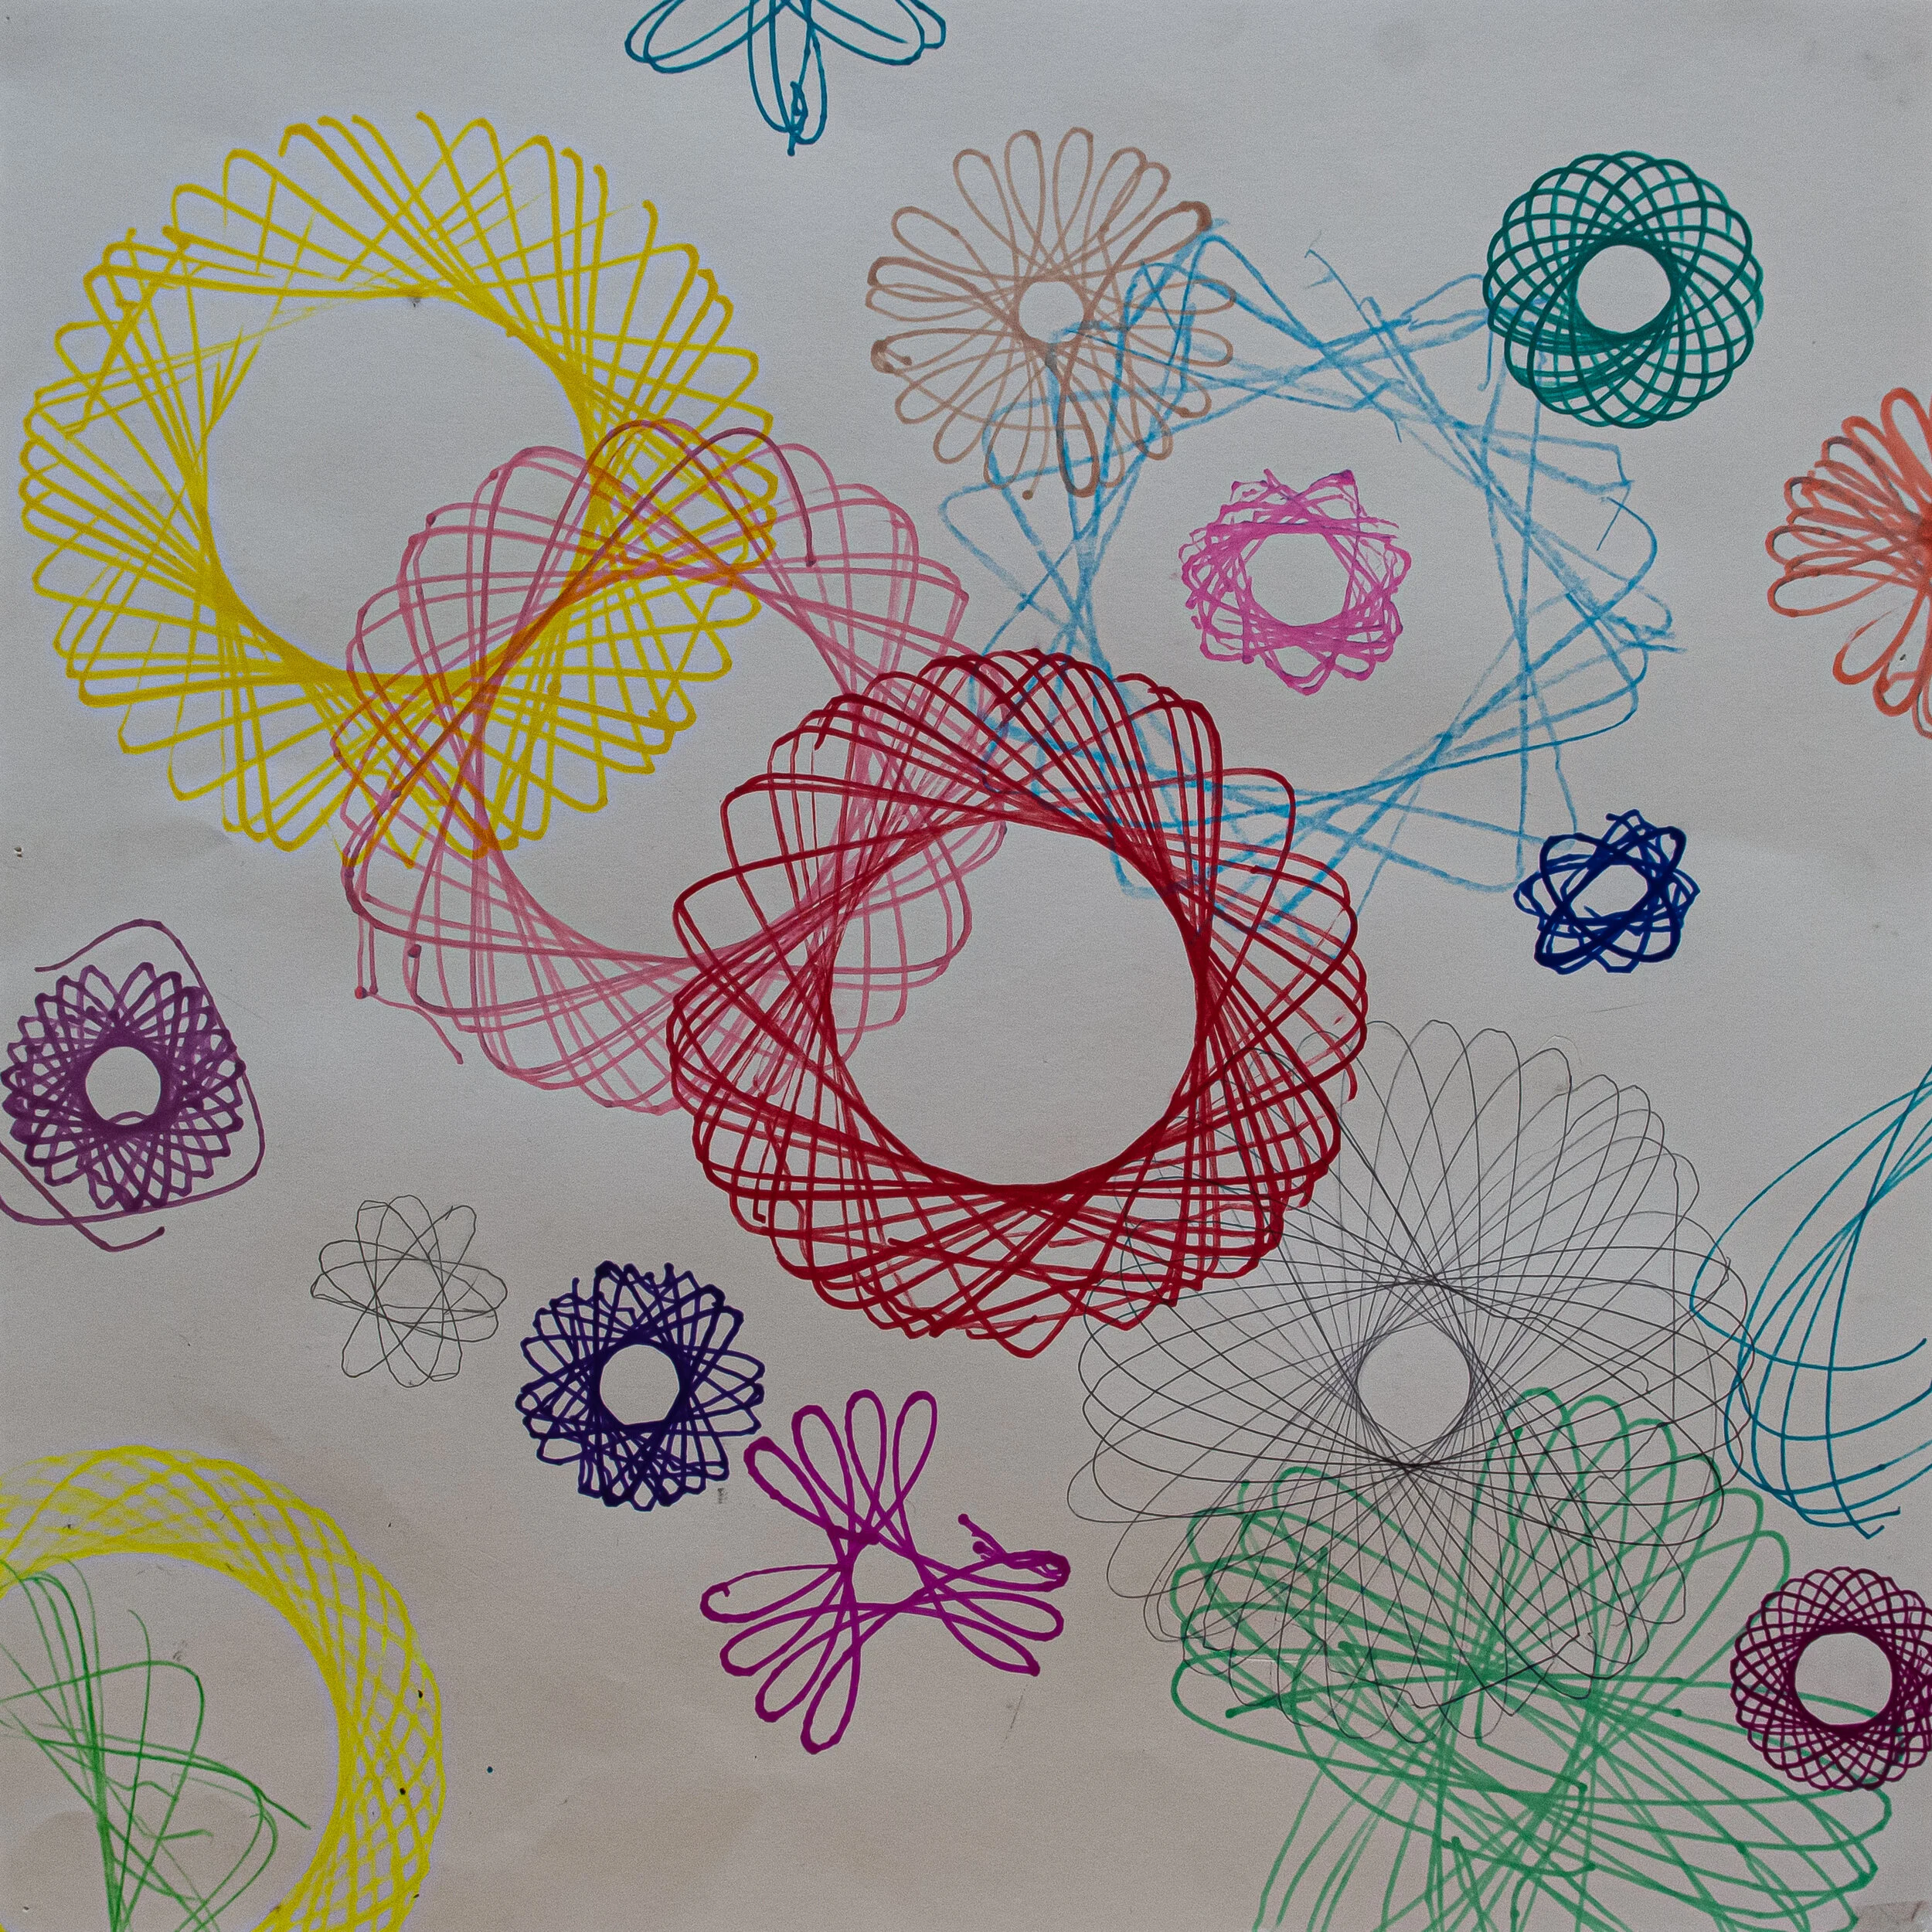
The first iteration of the drawing, I used the rules and it took about 20 minutes. I was most focused on seeing how the variations of colors in the patterns and their overlap could add interesting affects.
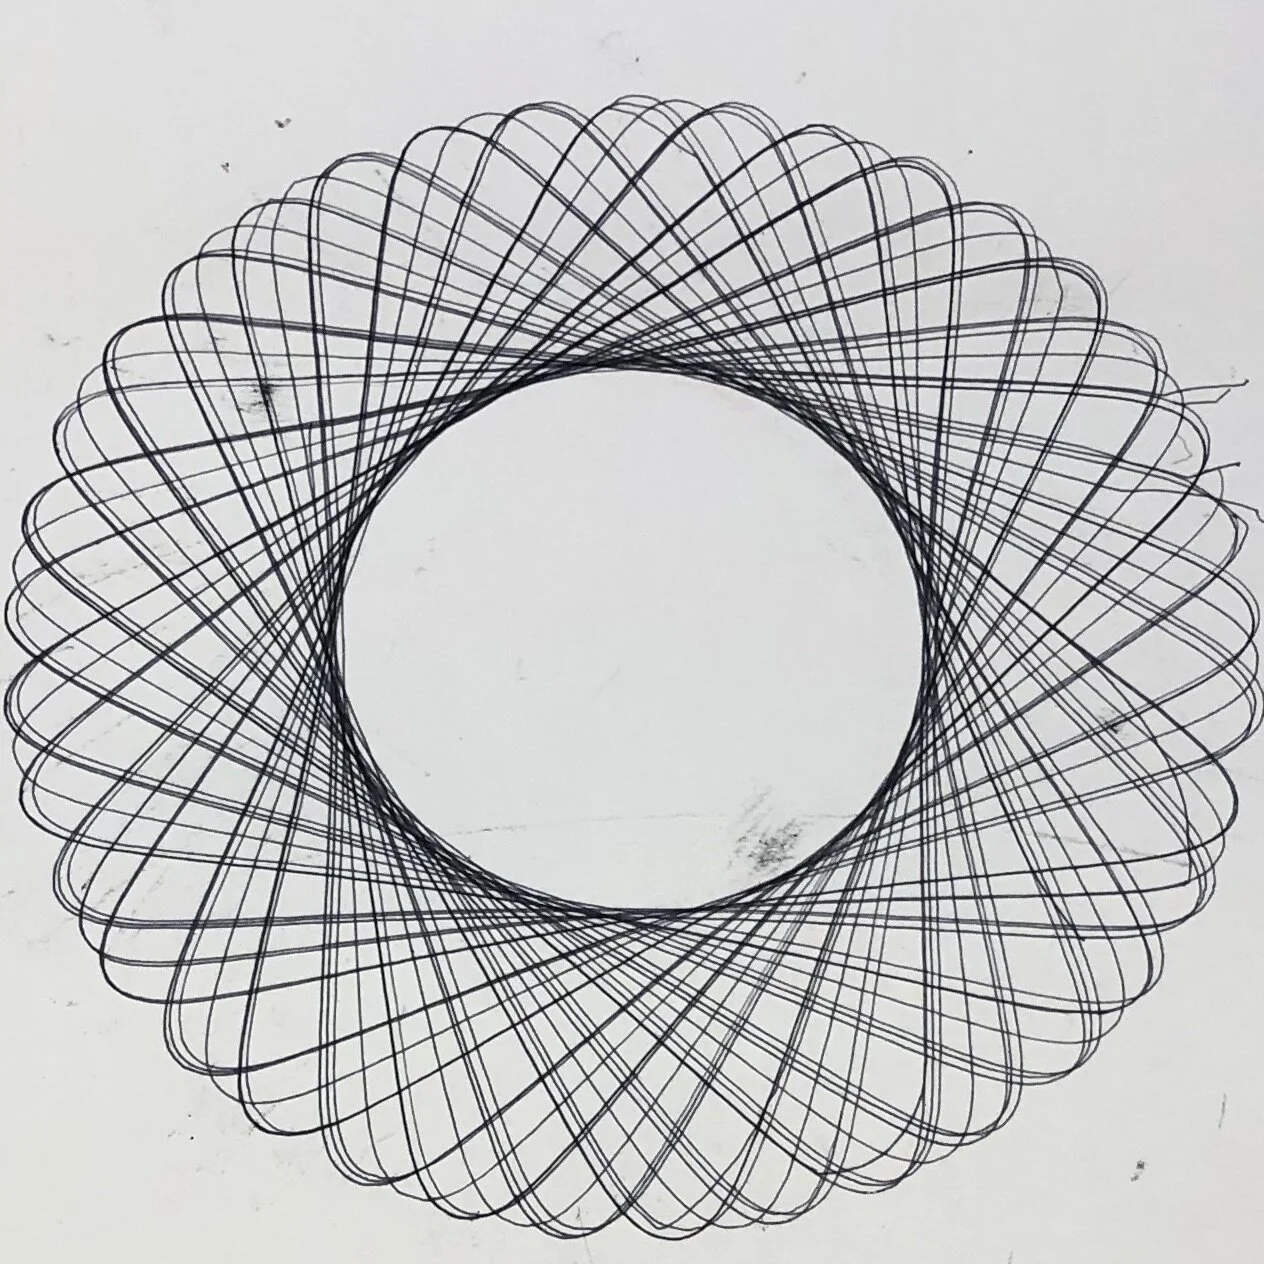
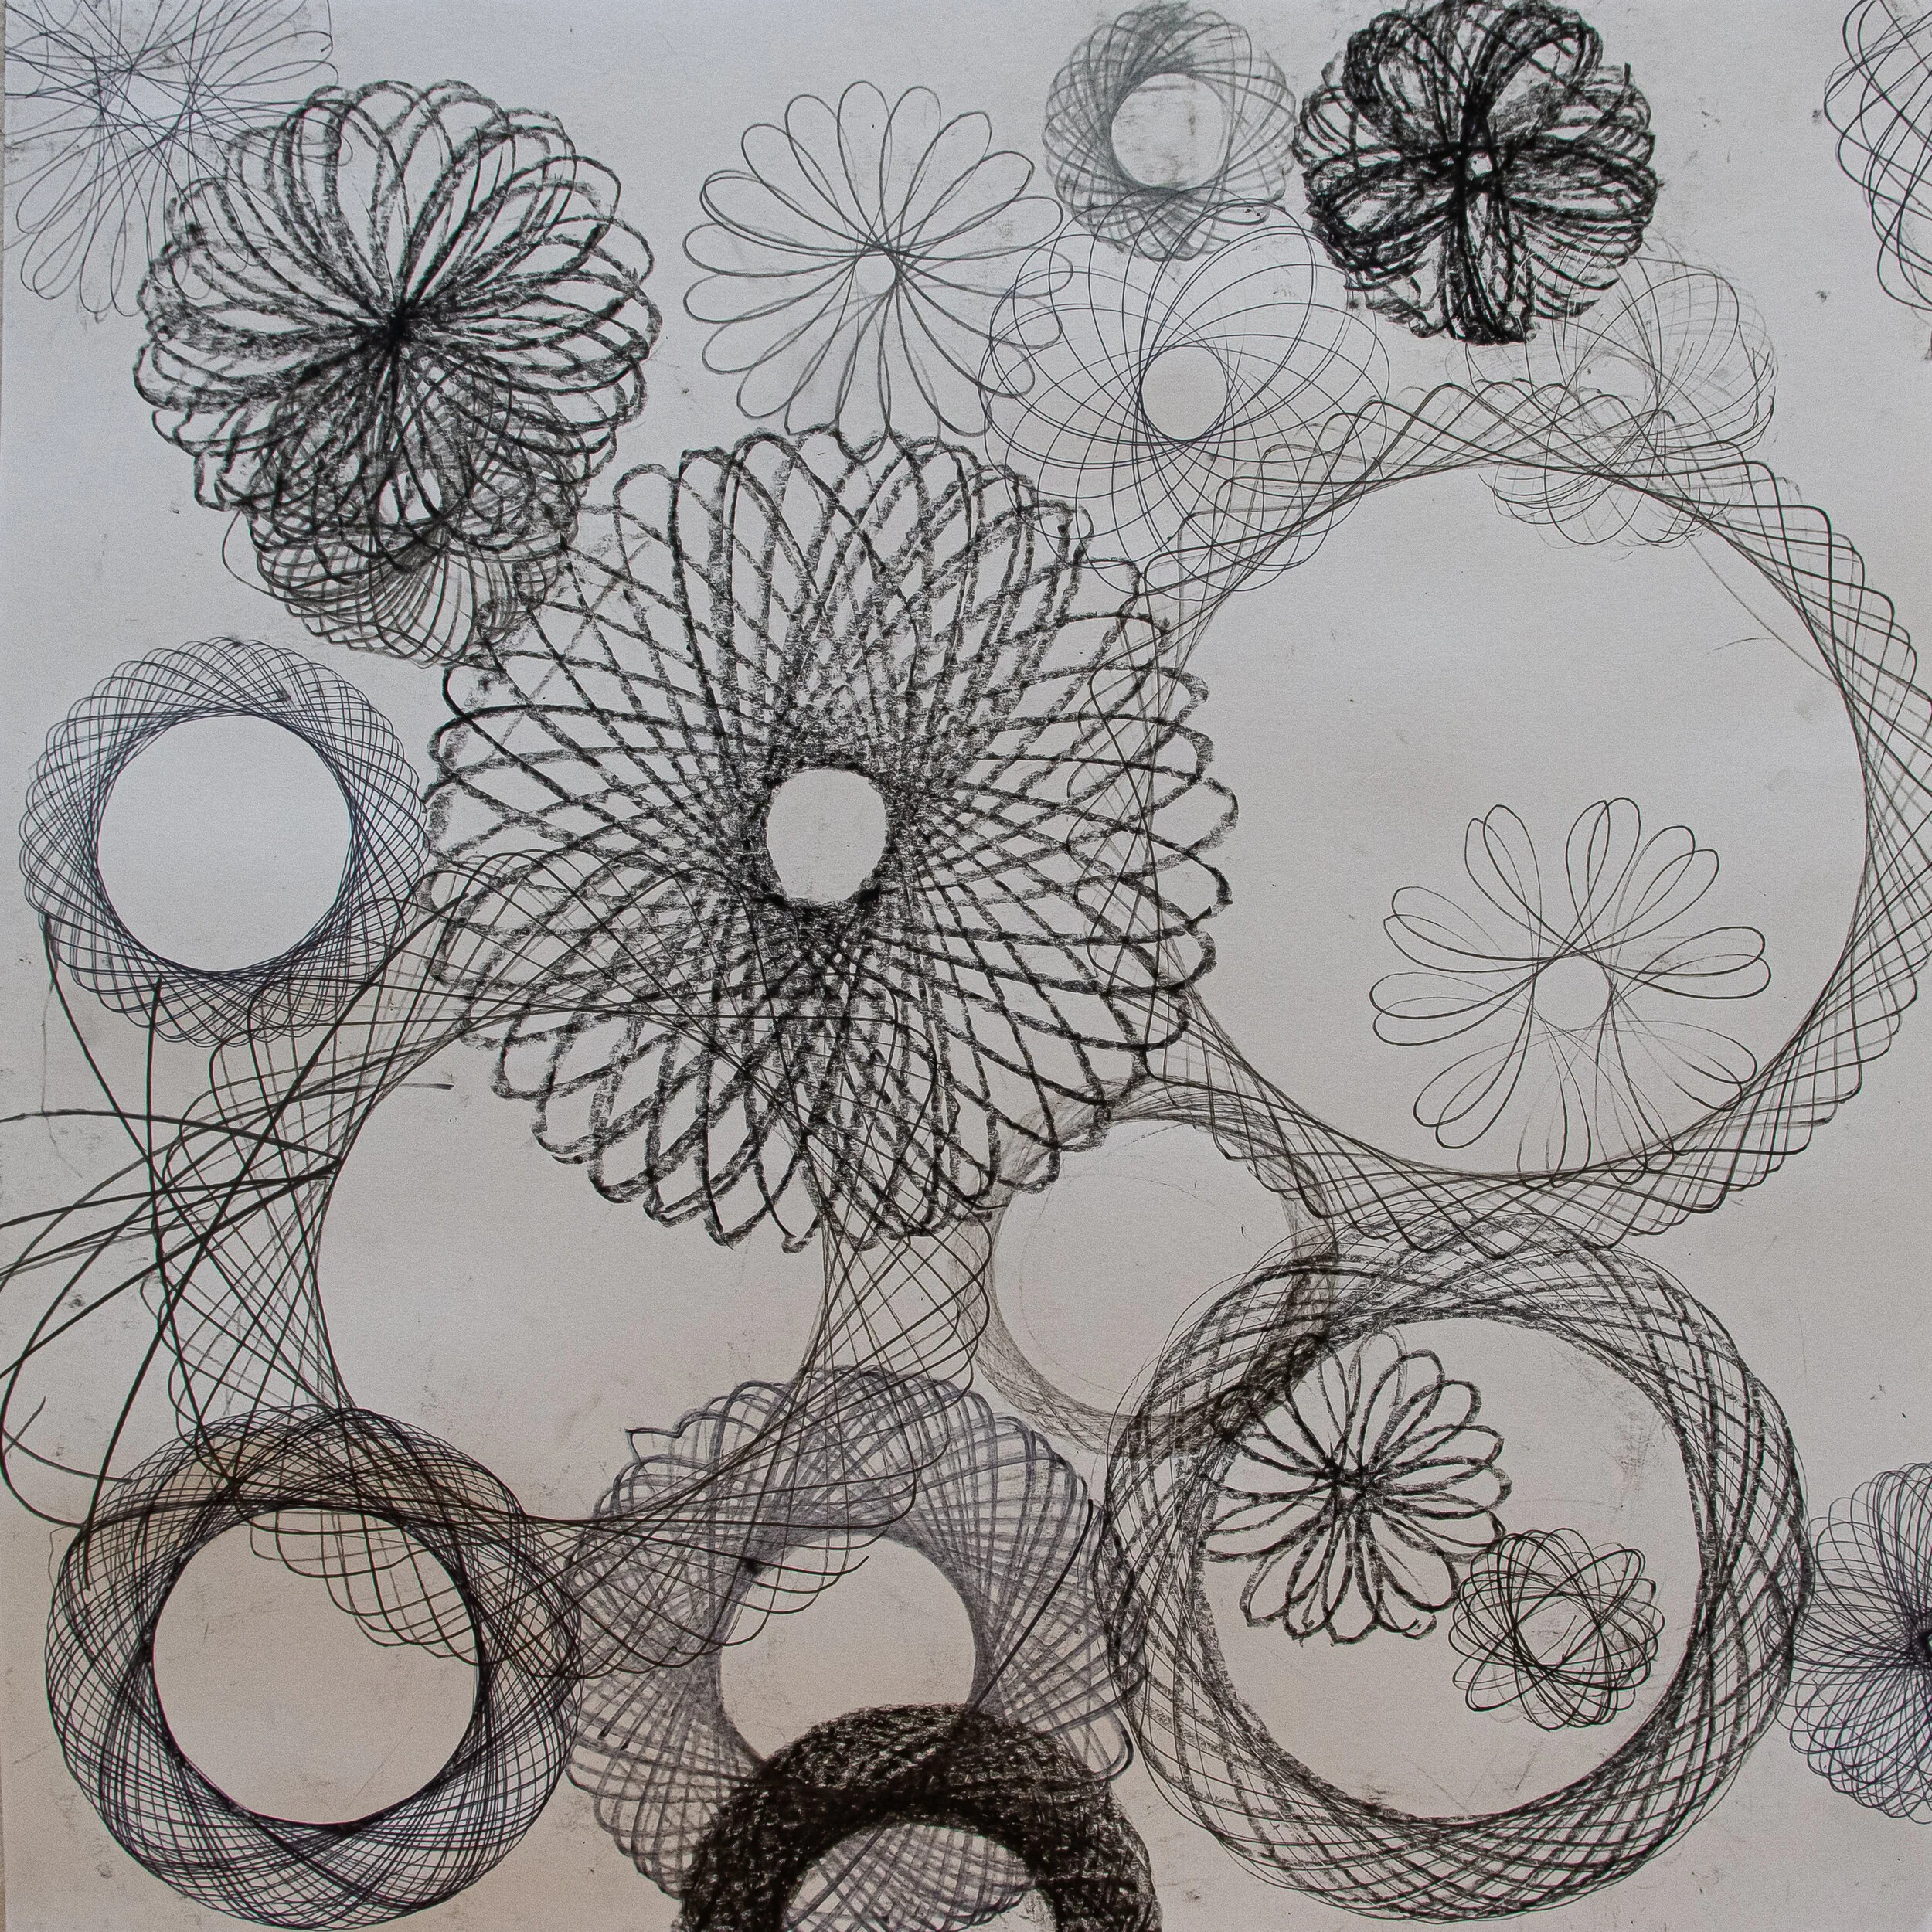
After feedback, for the second iteration I switched to a muted color tone of blacks and grays. With this iteration I was most focused on line weights and how to create senses of depth. Furthermore I also tried to incorporate more drift by adding a random number generator to control the pencil hole picked, line weight picked, and how long the person spun the drawing gear.
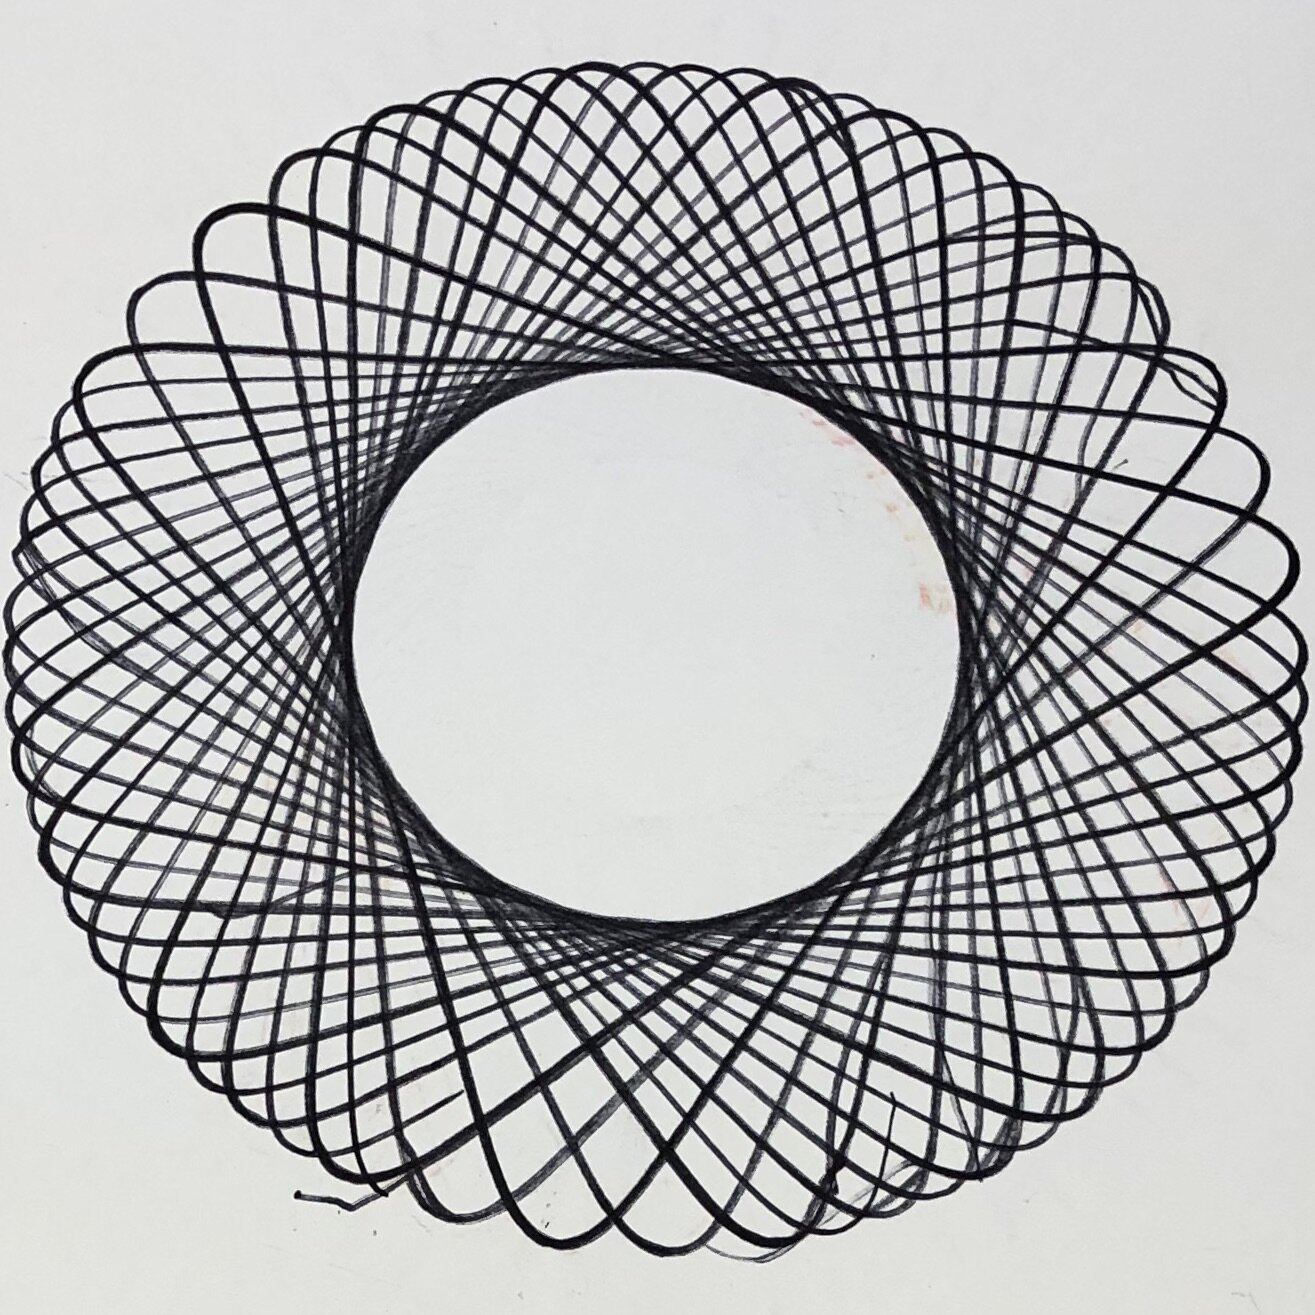
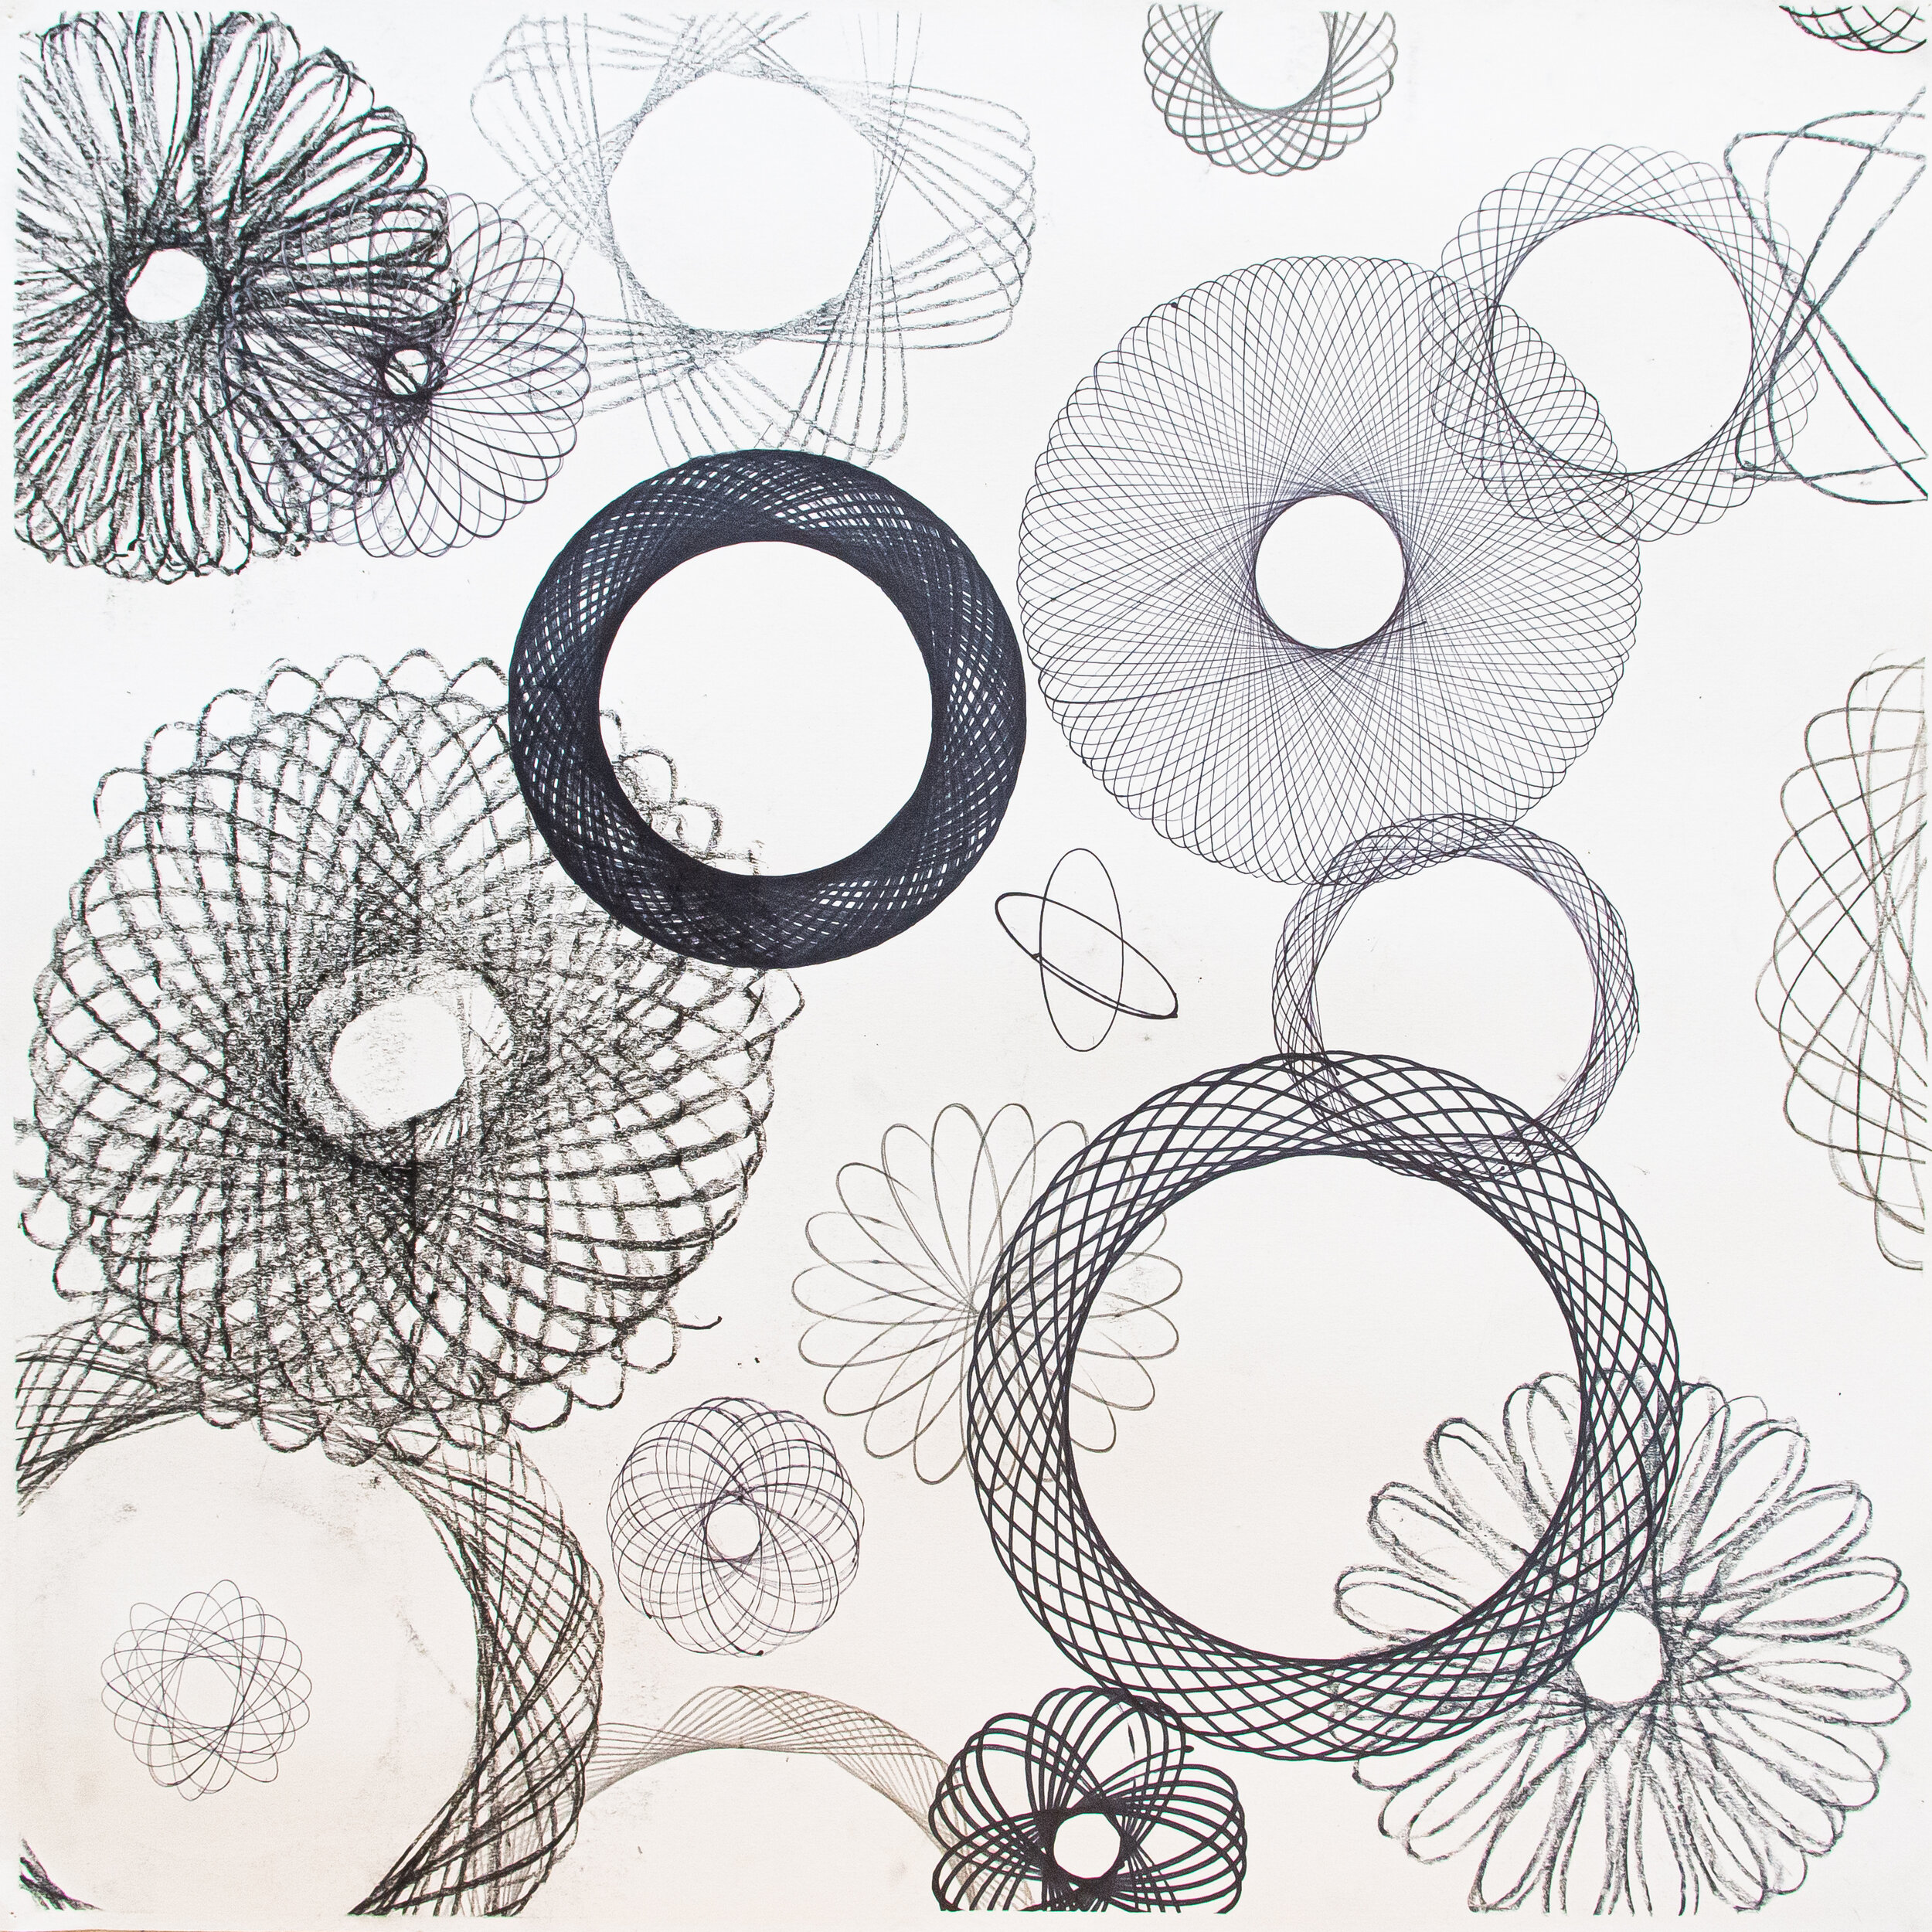
For the final iteration, I built upon iteration two, but this time around I thought that the random number generator added too much drift and I got rid of believing that the drawers design and spacial intuition added enough drift in itself. In the same spirit with less restrictions I was much more deliberate about picking the location of each spiral, and how I could control the final art piece based on their placements. Due to all the deliberation this final iteration took me over an hour to complete.

Student Wrap Up Experiment
+
Looking Forward
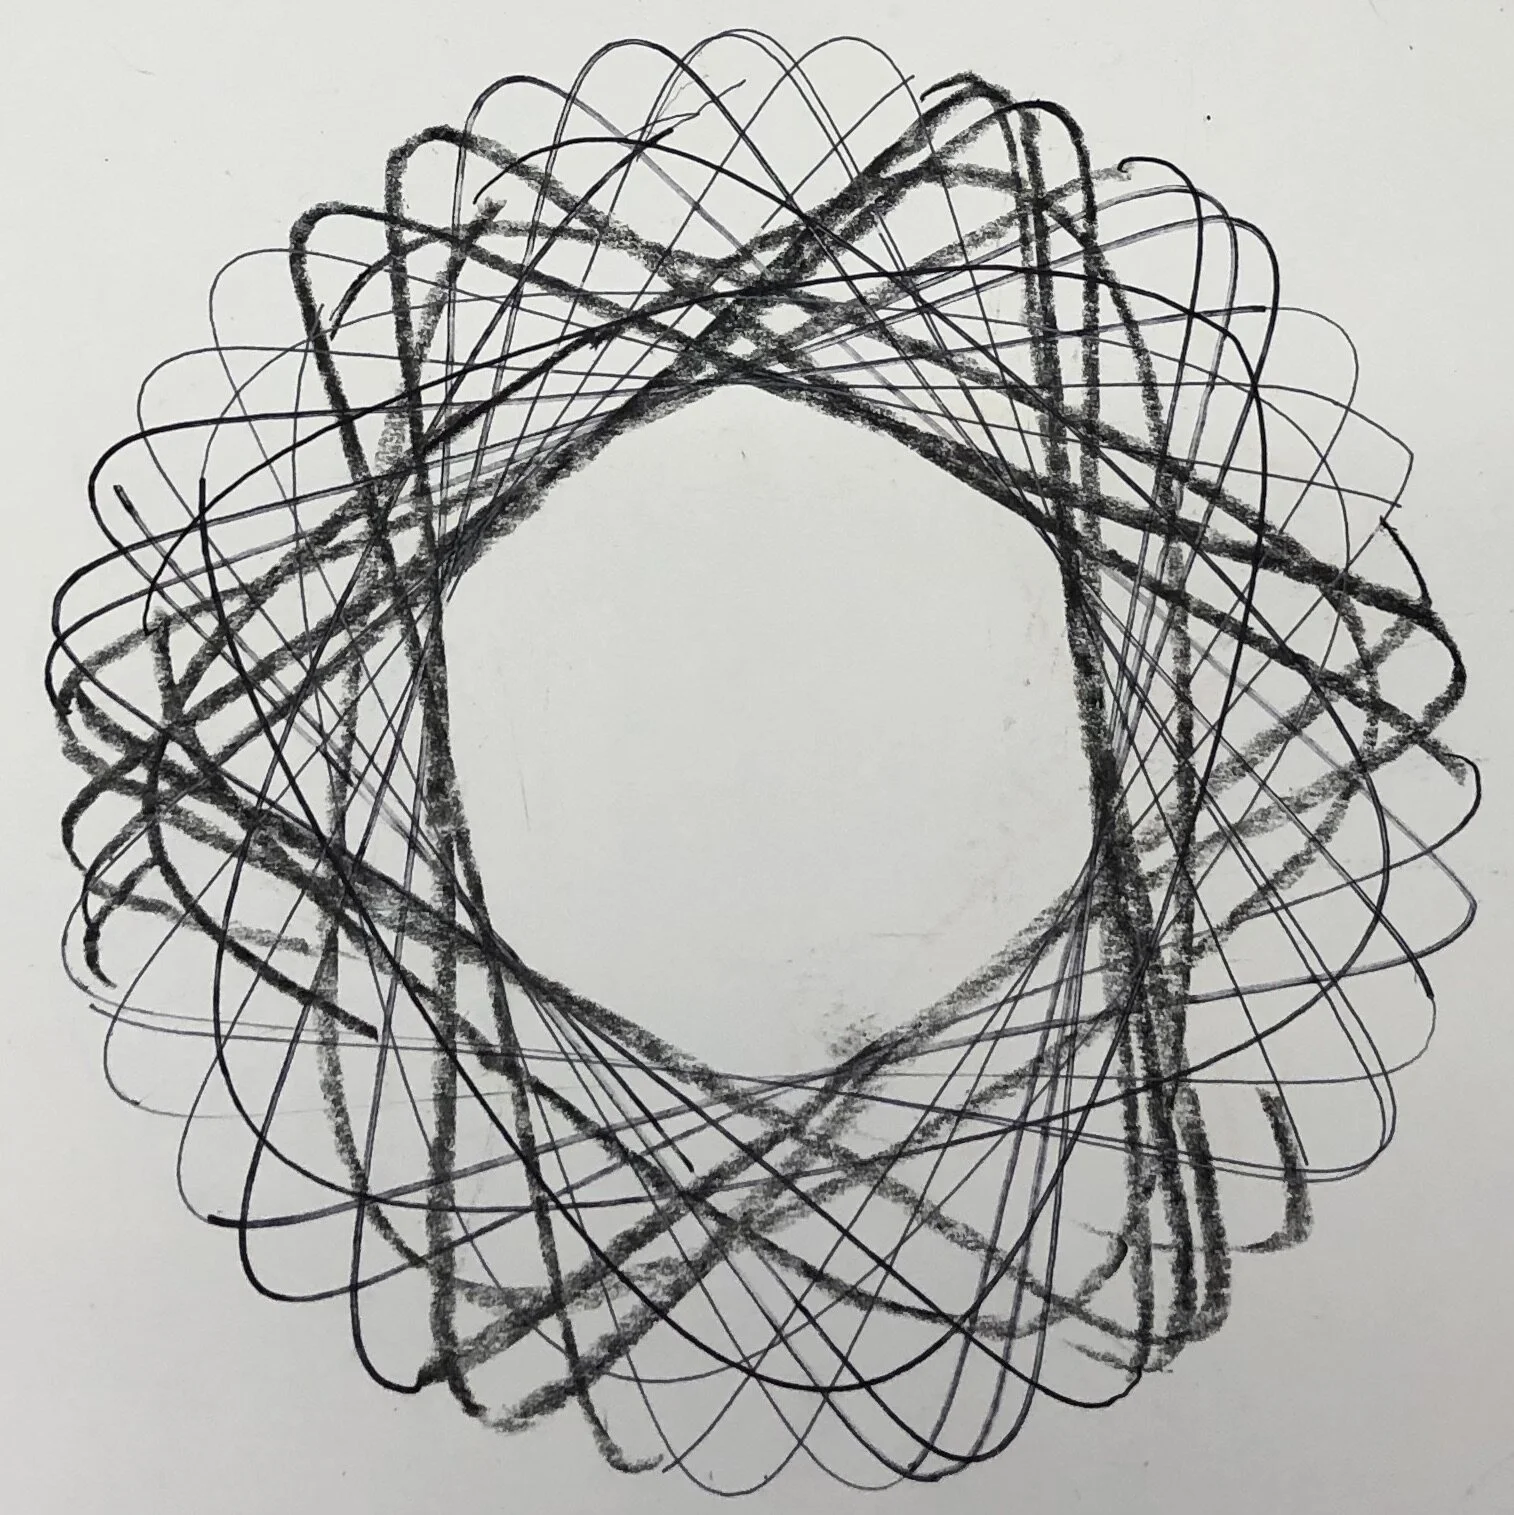
To bring the project to a close, we ran a classroom sessions where classmates would use our rules and make our drawings. 3 different students worked on the drawing for 20-30 minutes each. Overall I was quite impressed with how well the students were able to follow the instructions to make the art piece. The key thing I noticed is that with my final drawing because I was so deliberate and had a vision for the drawing it looked more ordered. While when 3 people shared one drawing their unique design perspectives and intuitions clashed to make a drawing that shared similarities to my final but was more chaotic.
If I were to continue this project, one thing I would do is bring back color as having a better understanding of the tools and patterns I could control the color version to be less distracting and chaotic. The second thing I would look into is exploring different track shapes and gear shapes.
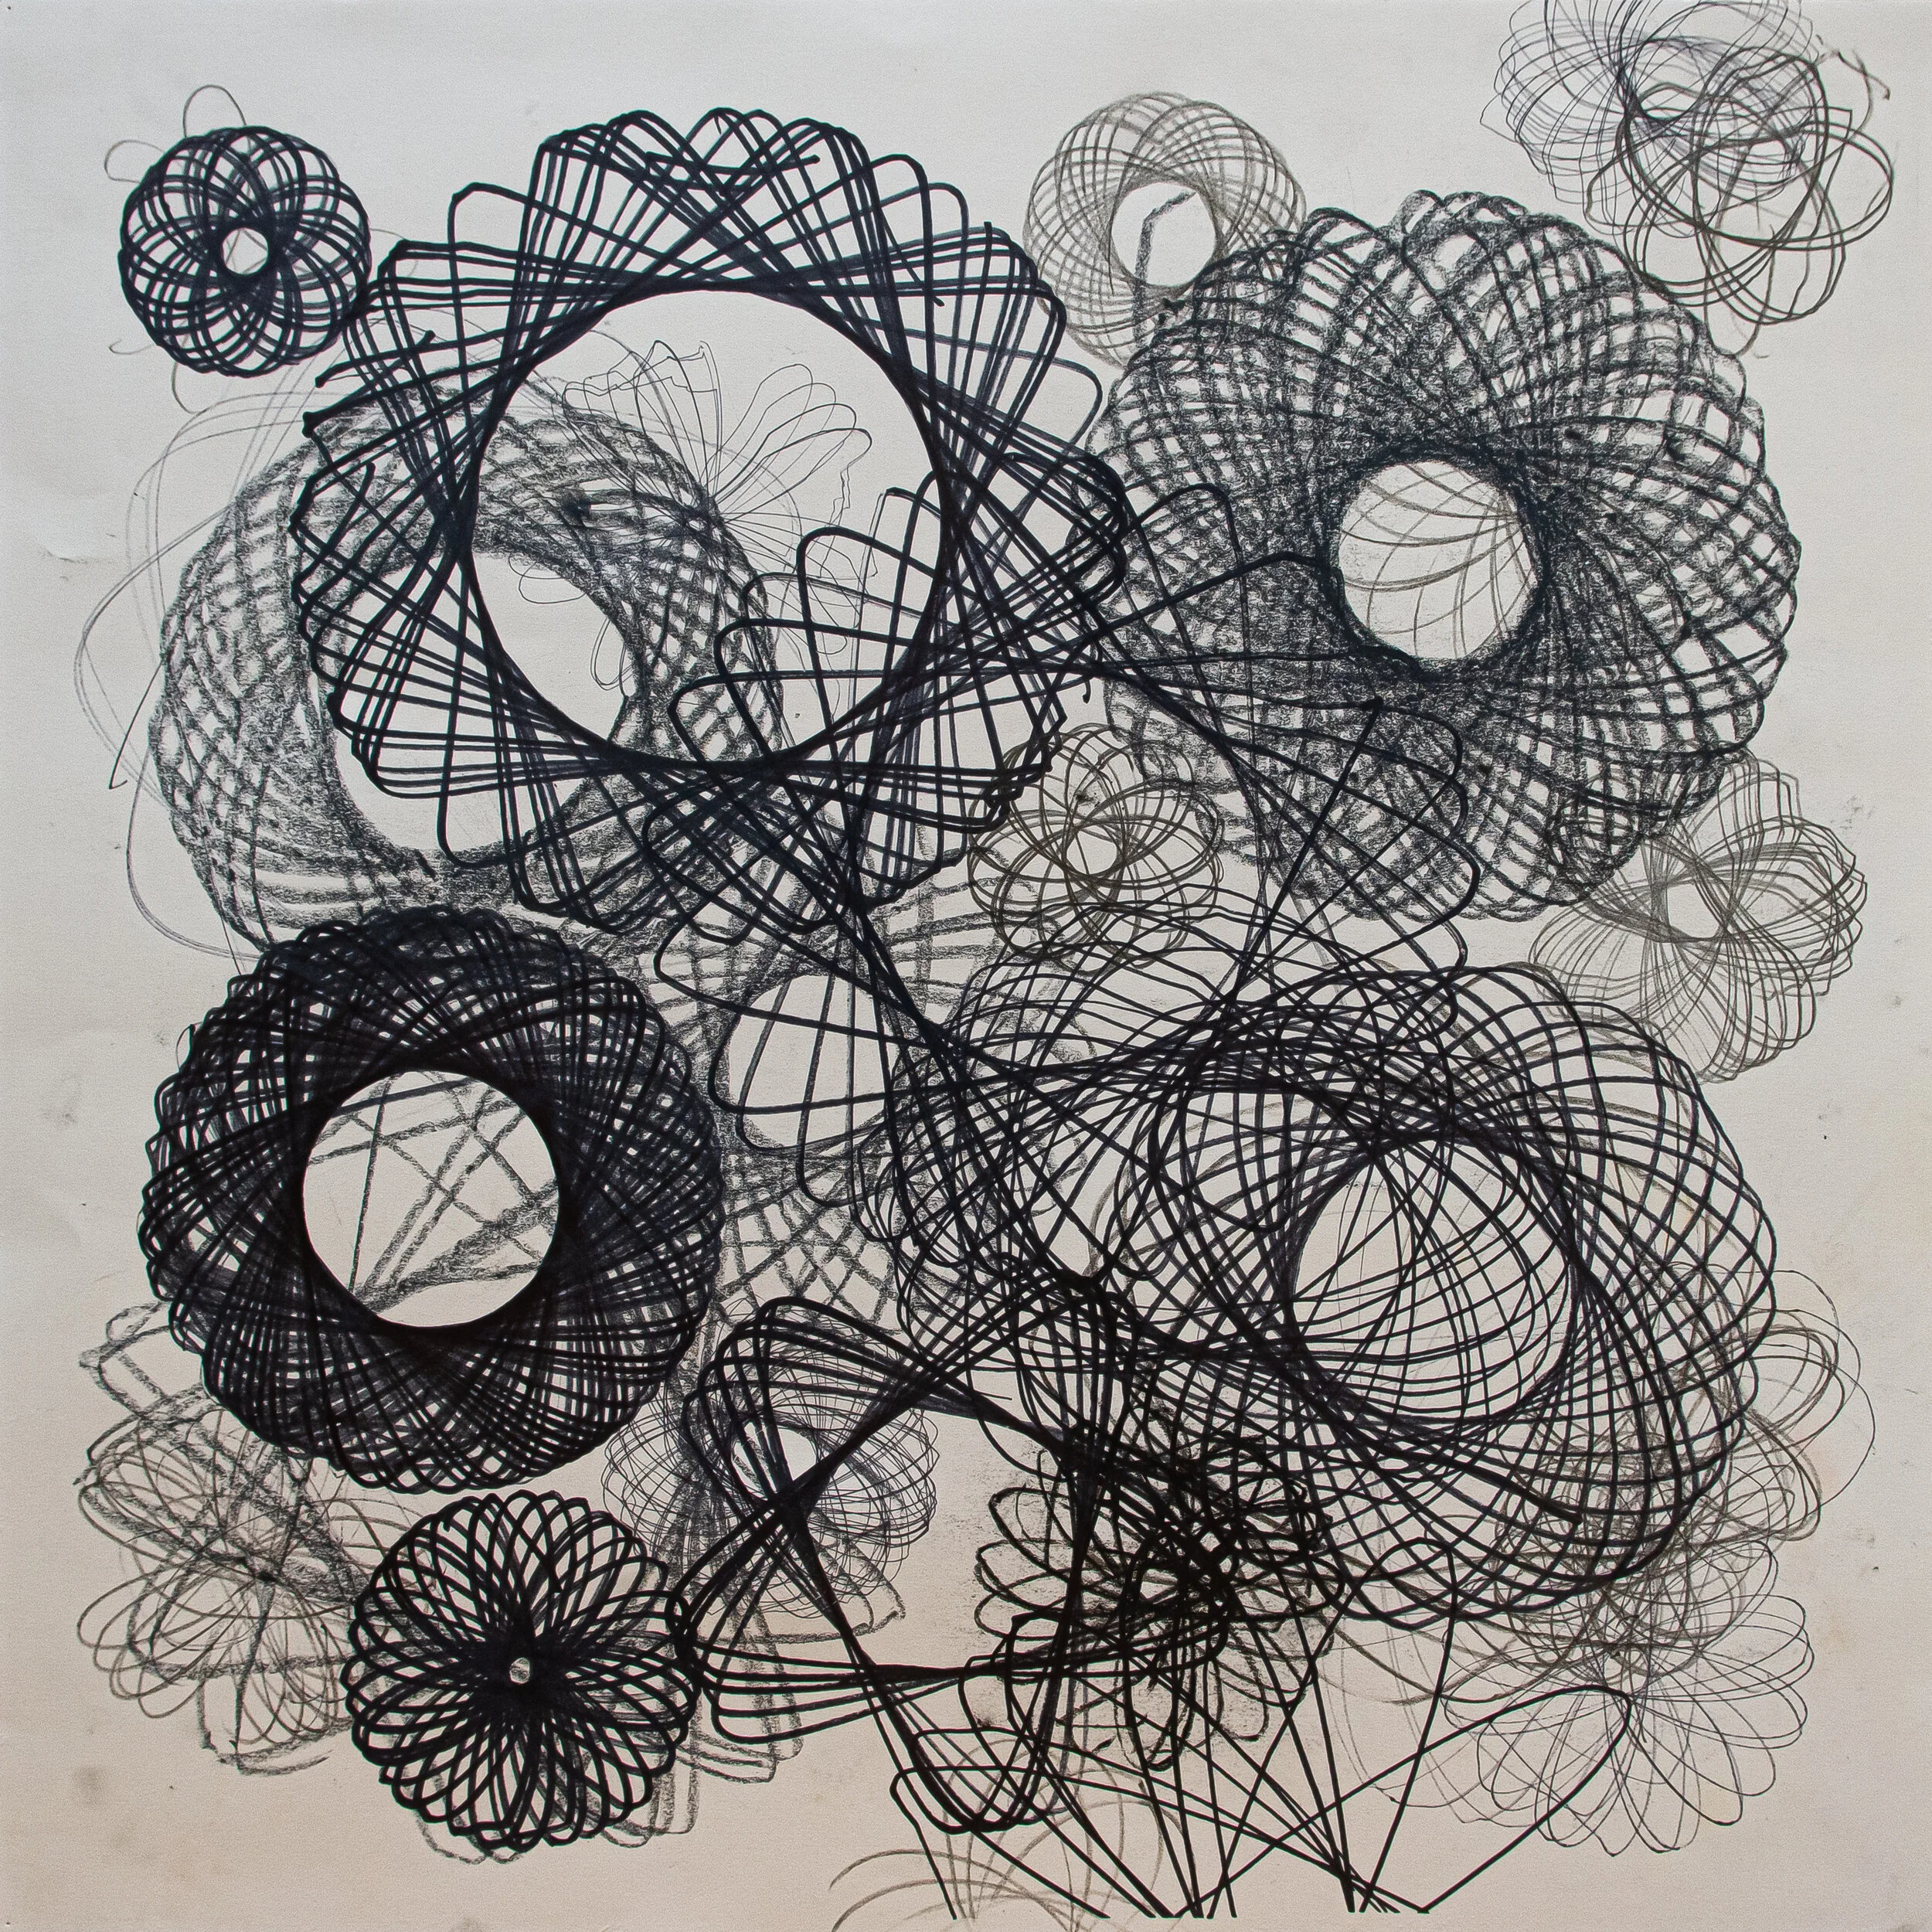
Classmate Iteration
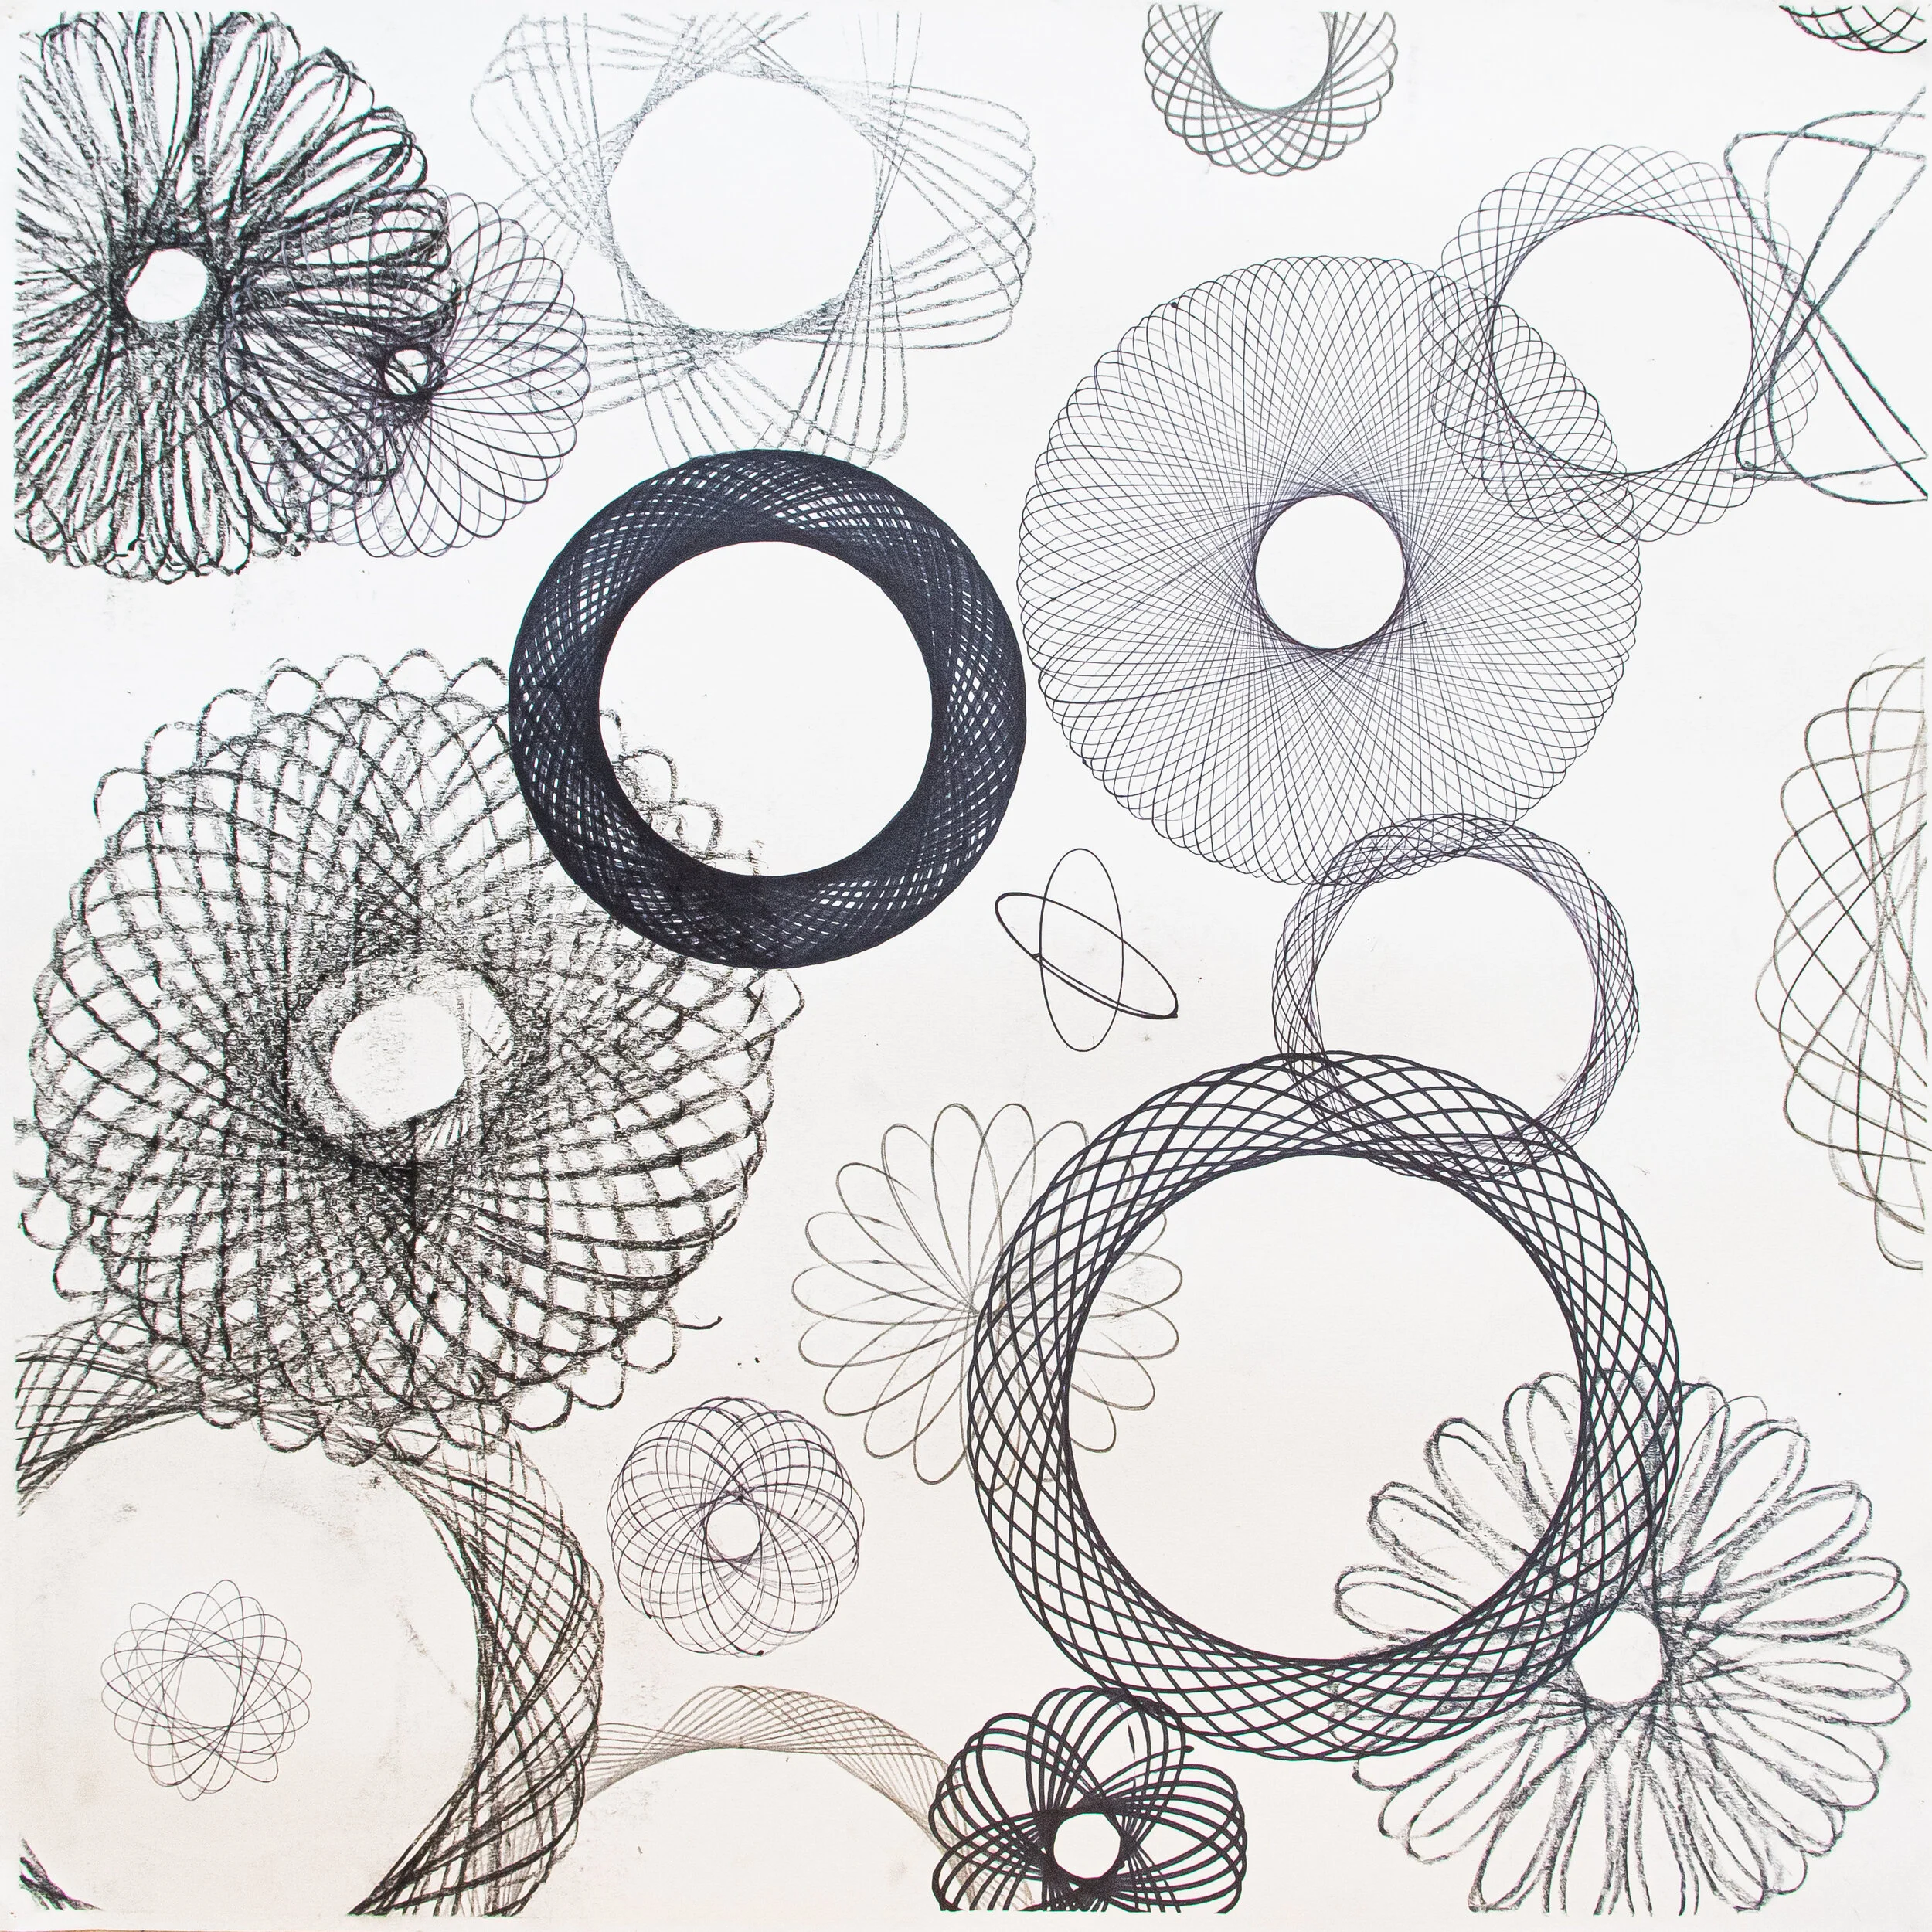
My Final Iteration